Grain-Free Angel Food Cake
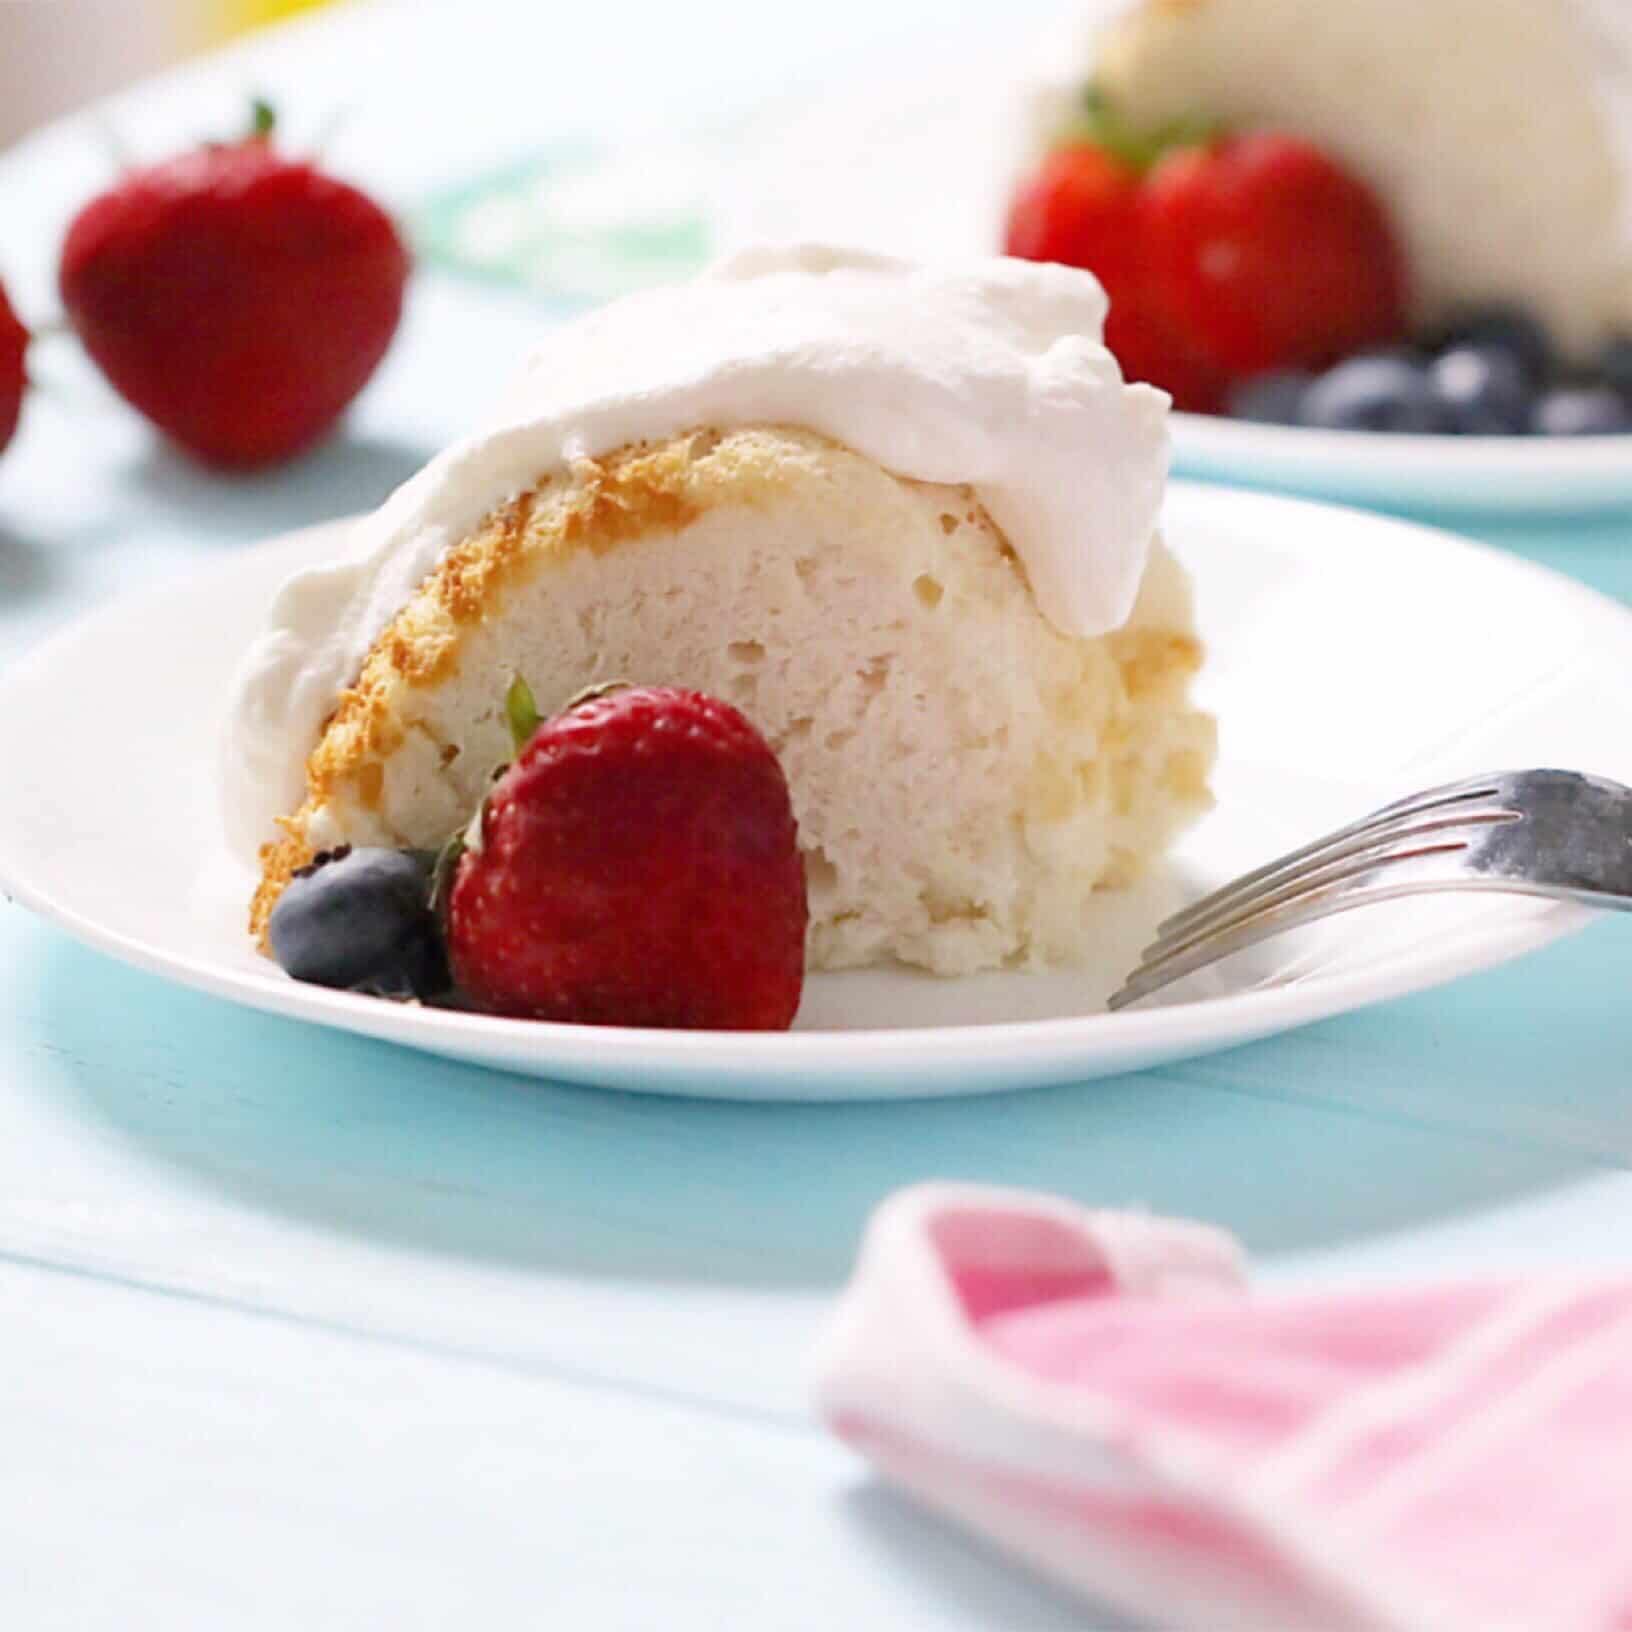
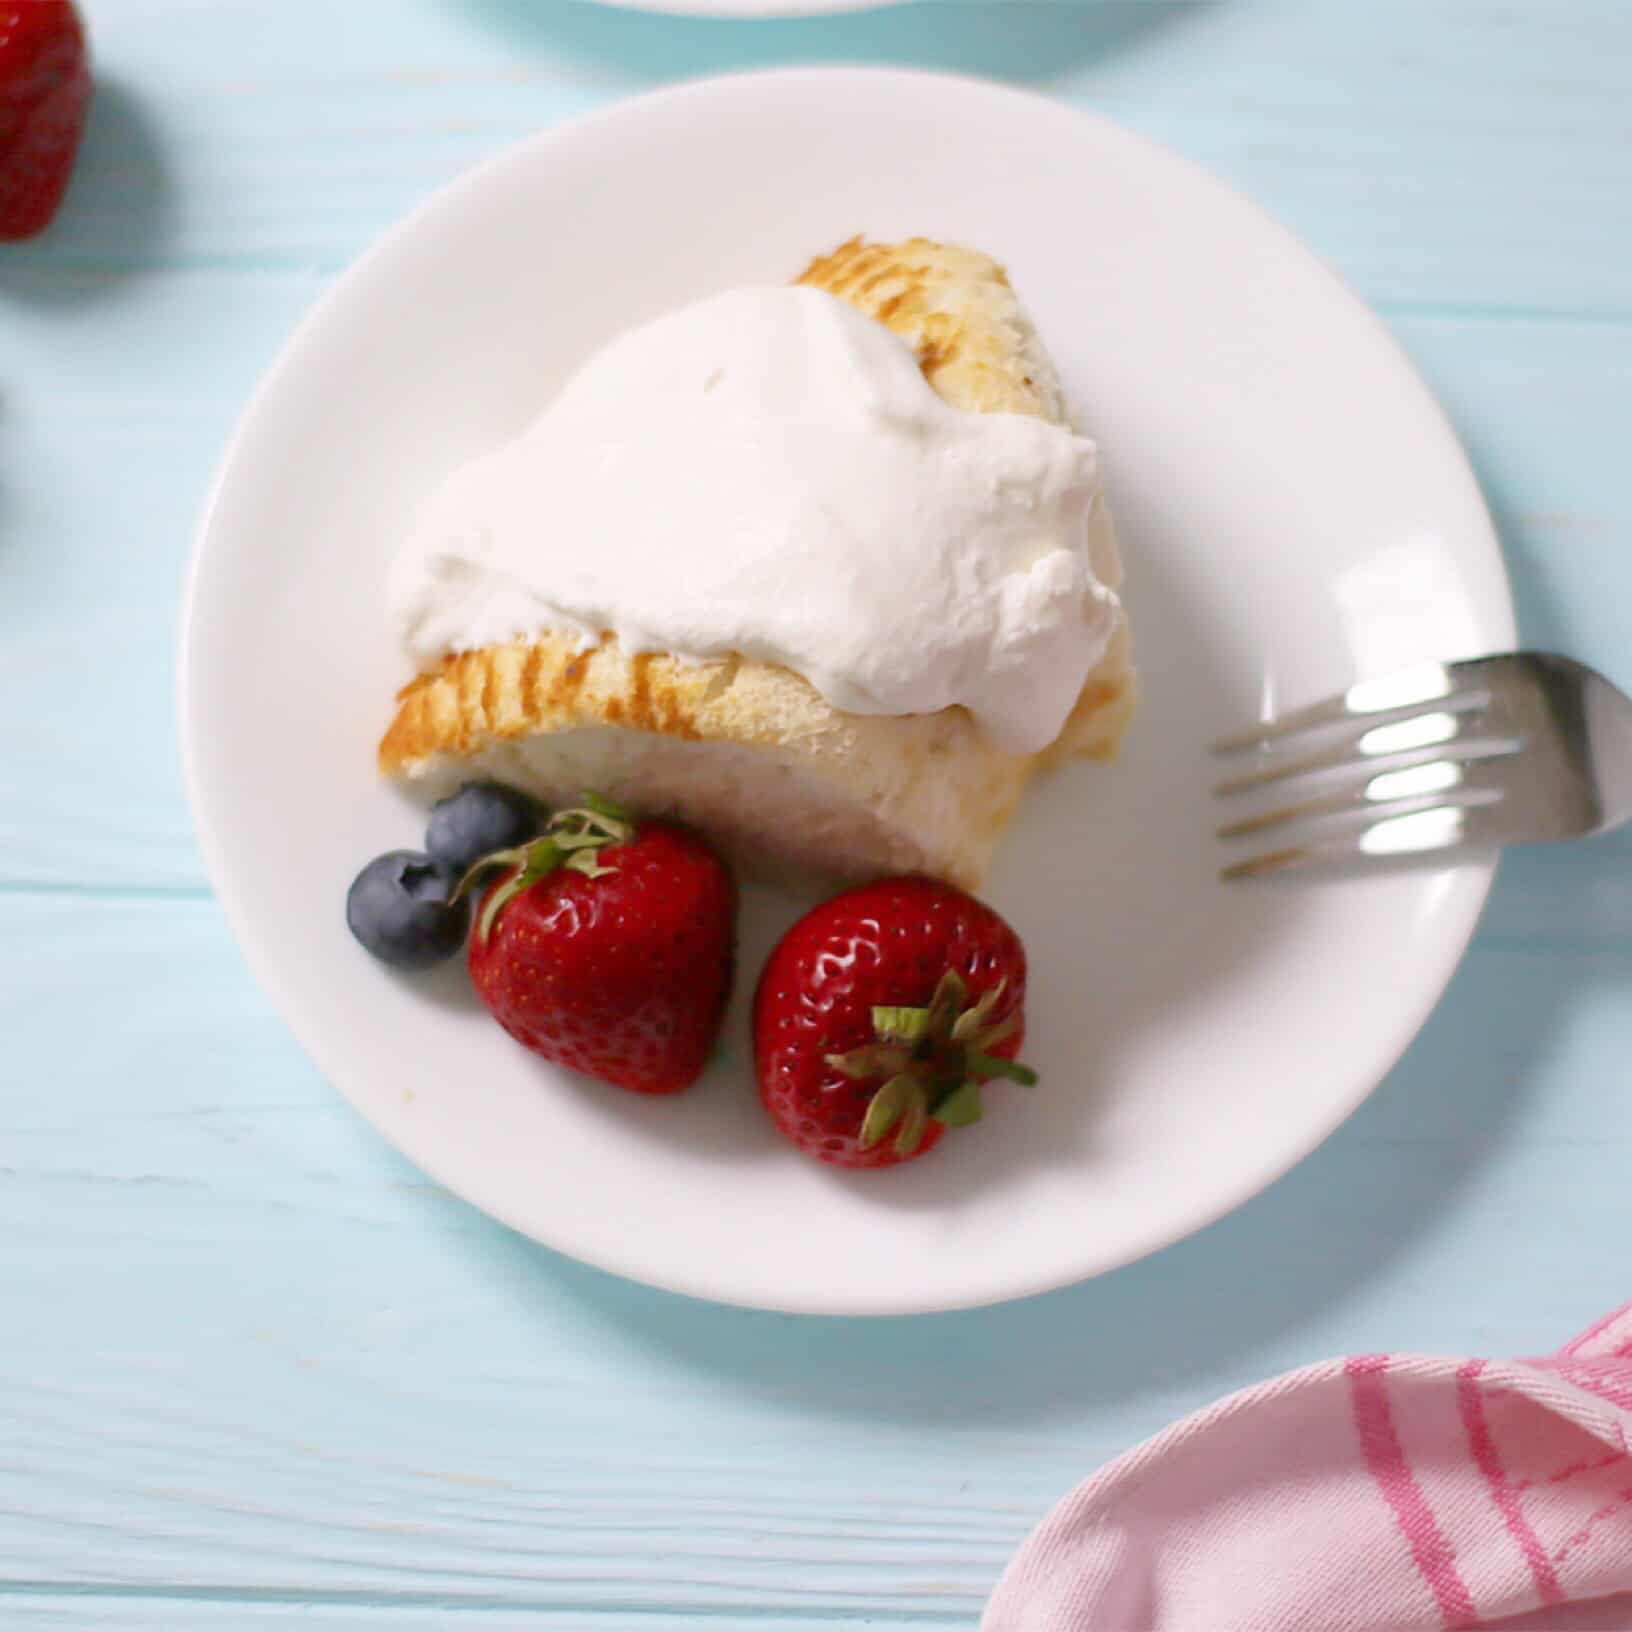
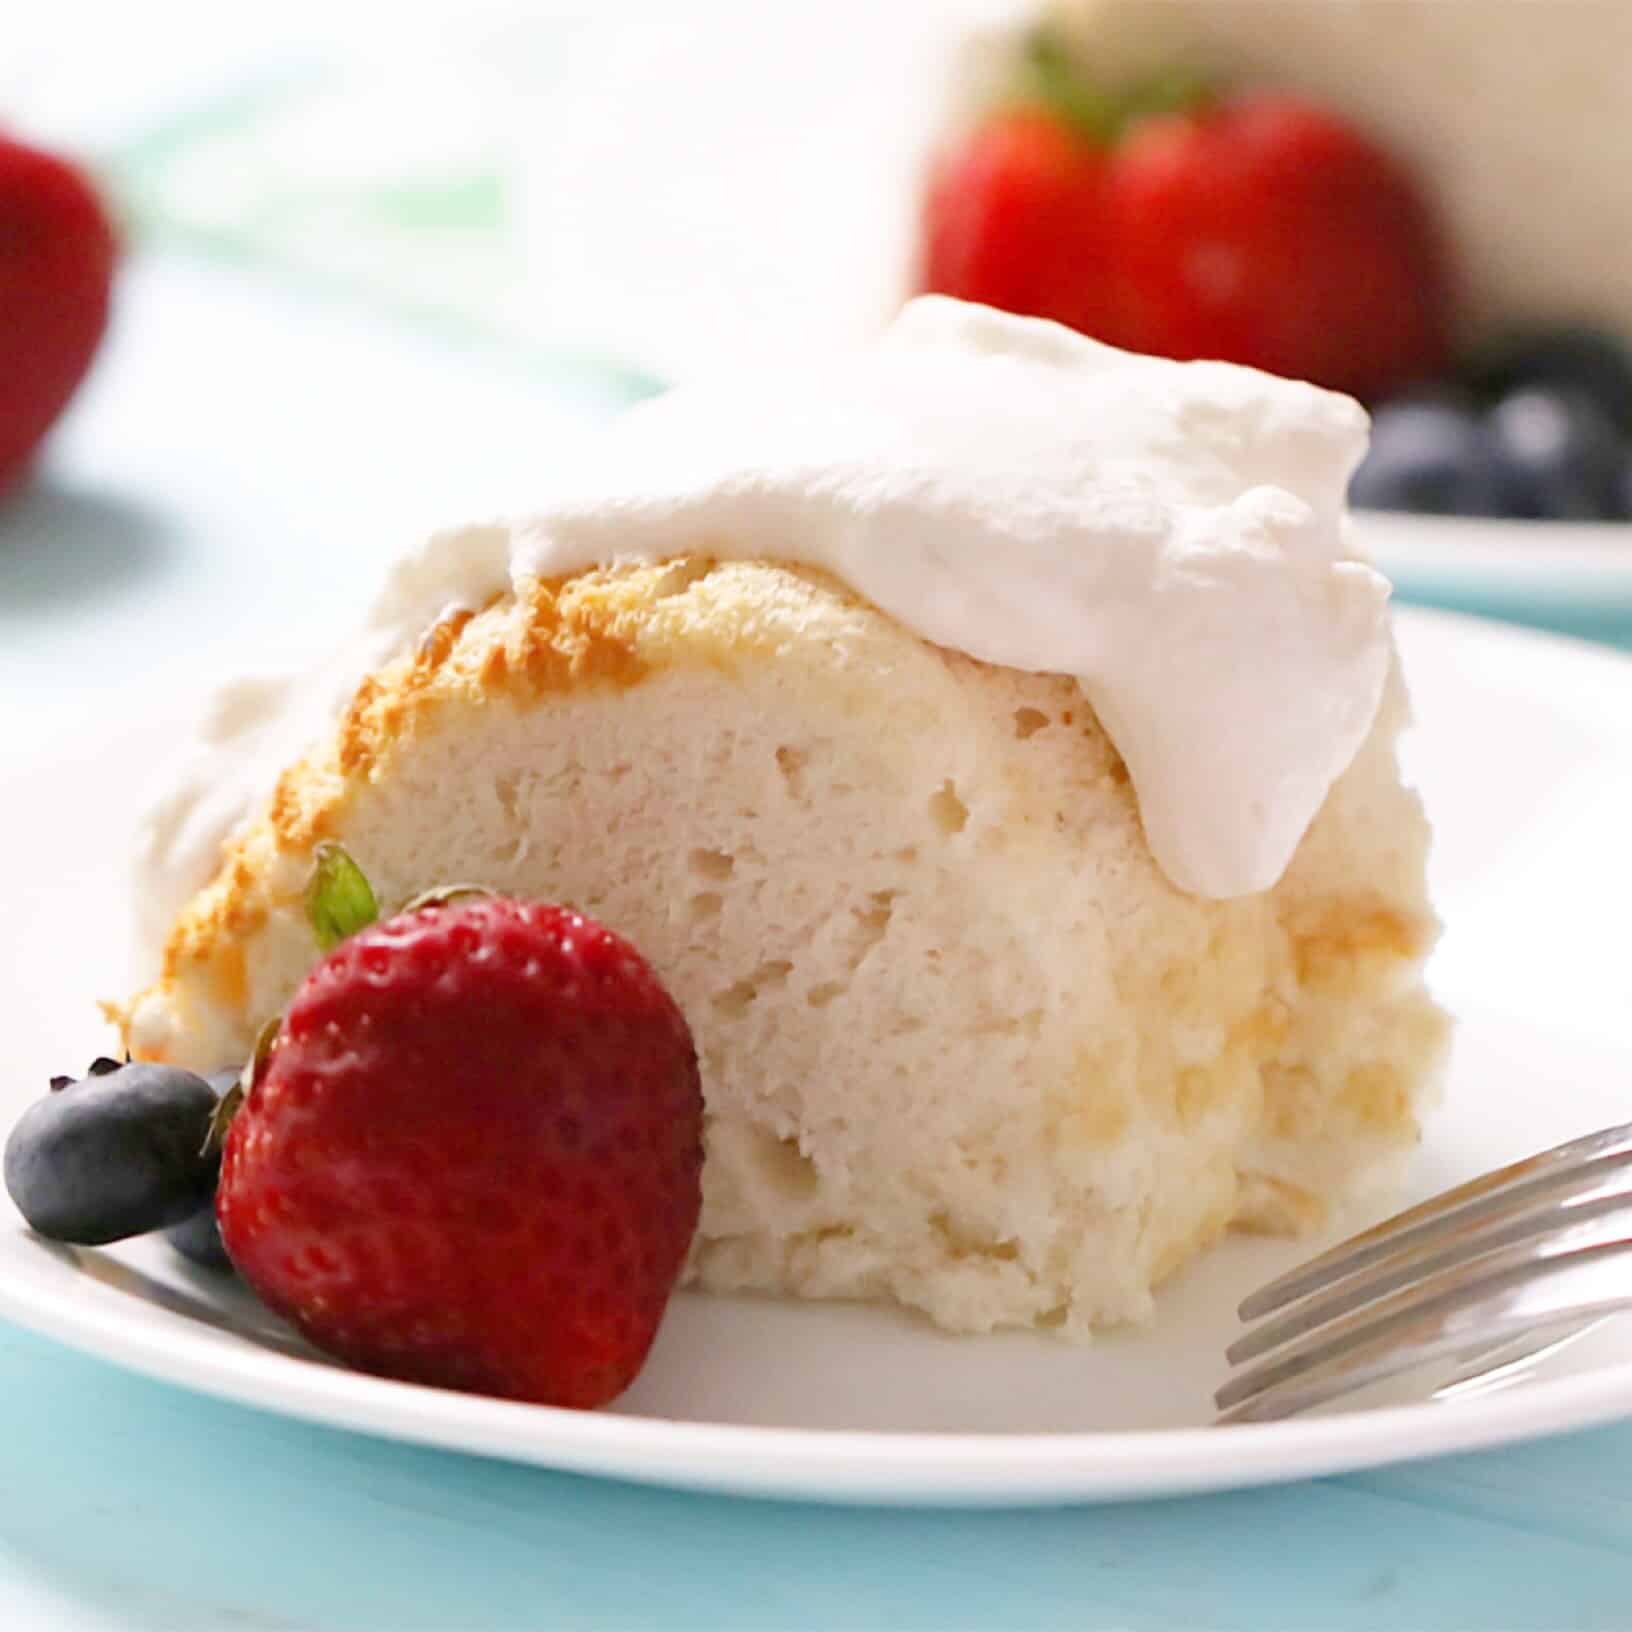
Grain-Free Angel Food Cake 😇 (dairy-free w/naturally sweetened option)
One of my favorite summer memories growing up was leaving early-morning on Saturdays to go out to the lake. We’d spend hours in the hot sun boating + water skiing. At the end of the day, on the way home, we’d stop by the farmer’s marker for fresh, sweet corn and other veggies to grill. We’d also pick up strawberries, whipped cream and shortcake or angel food cake to go along with it. I remember we’d be sun drenched and starving by the time we finally arrived home and could barely keep it together until dinner. Needless to say, we would plow through the delicious grilled chicken + veggies, racing to get to dessert. And nothing suits the sun weary palate like cold, fresh berries paired with a very light + sweet cake.
Which brings me of course to today’s recipe! I have dearly missed this style of cake, so it’s been exciting reintroducing it to our diets. It makes us feel like a kid again.😊
Tips for today:
Tips:
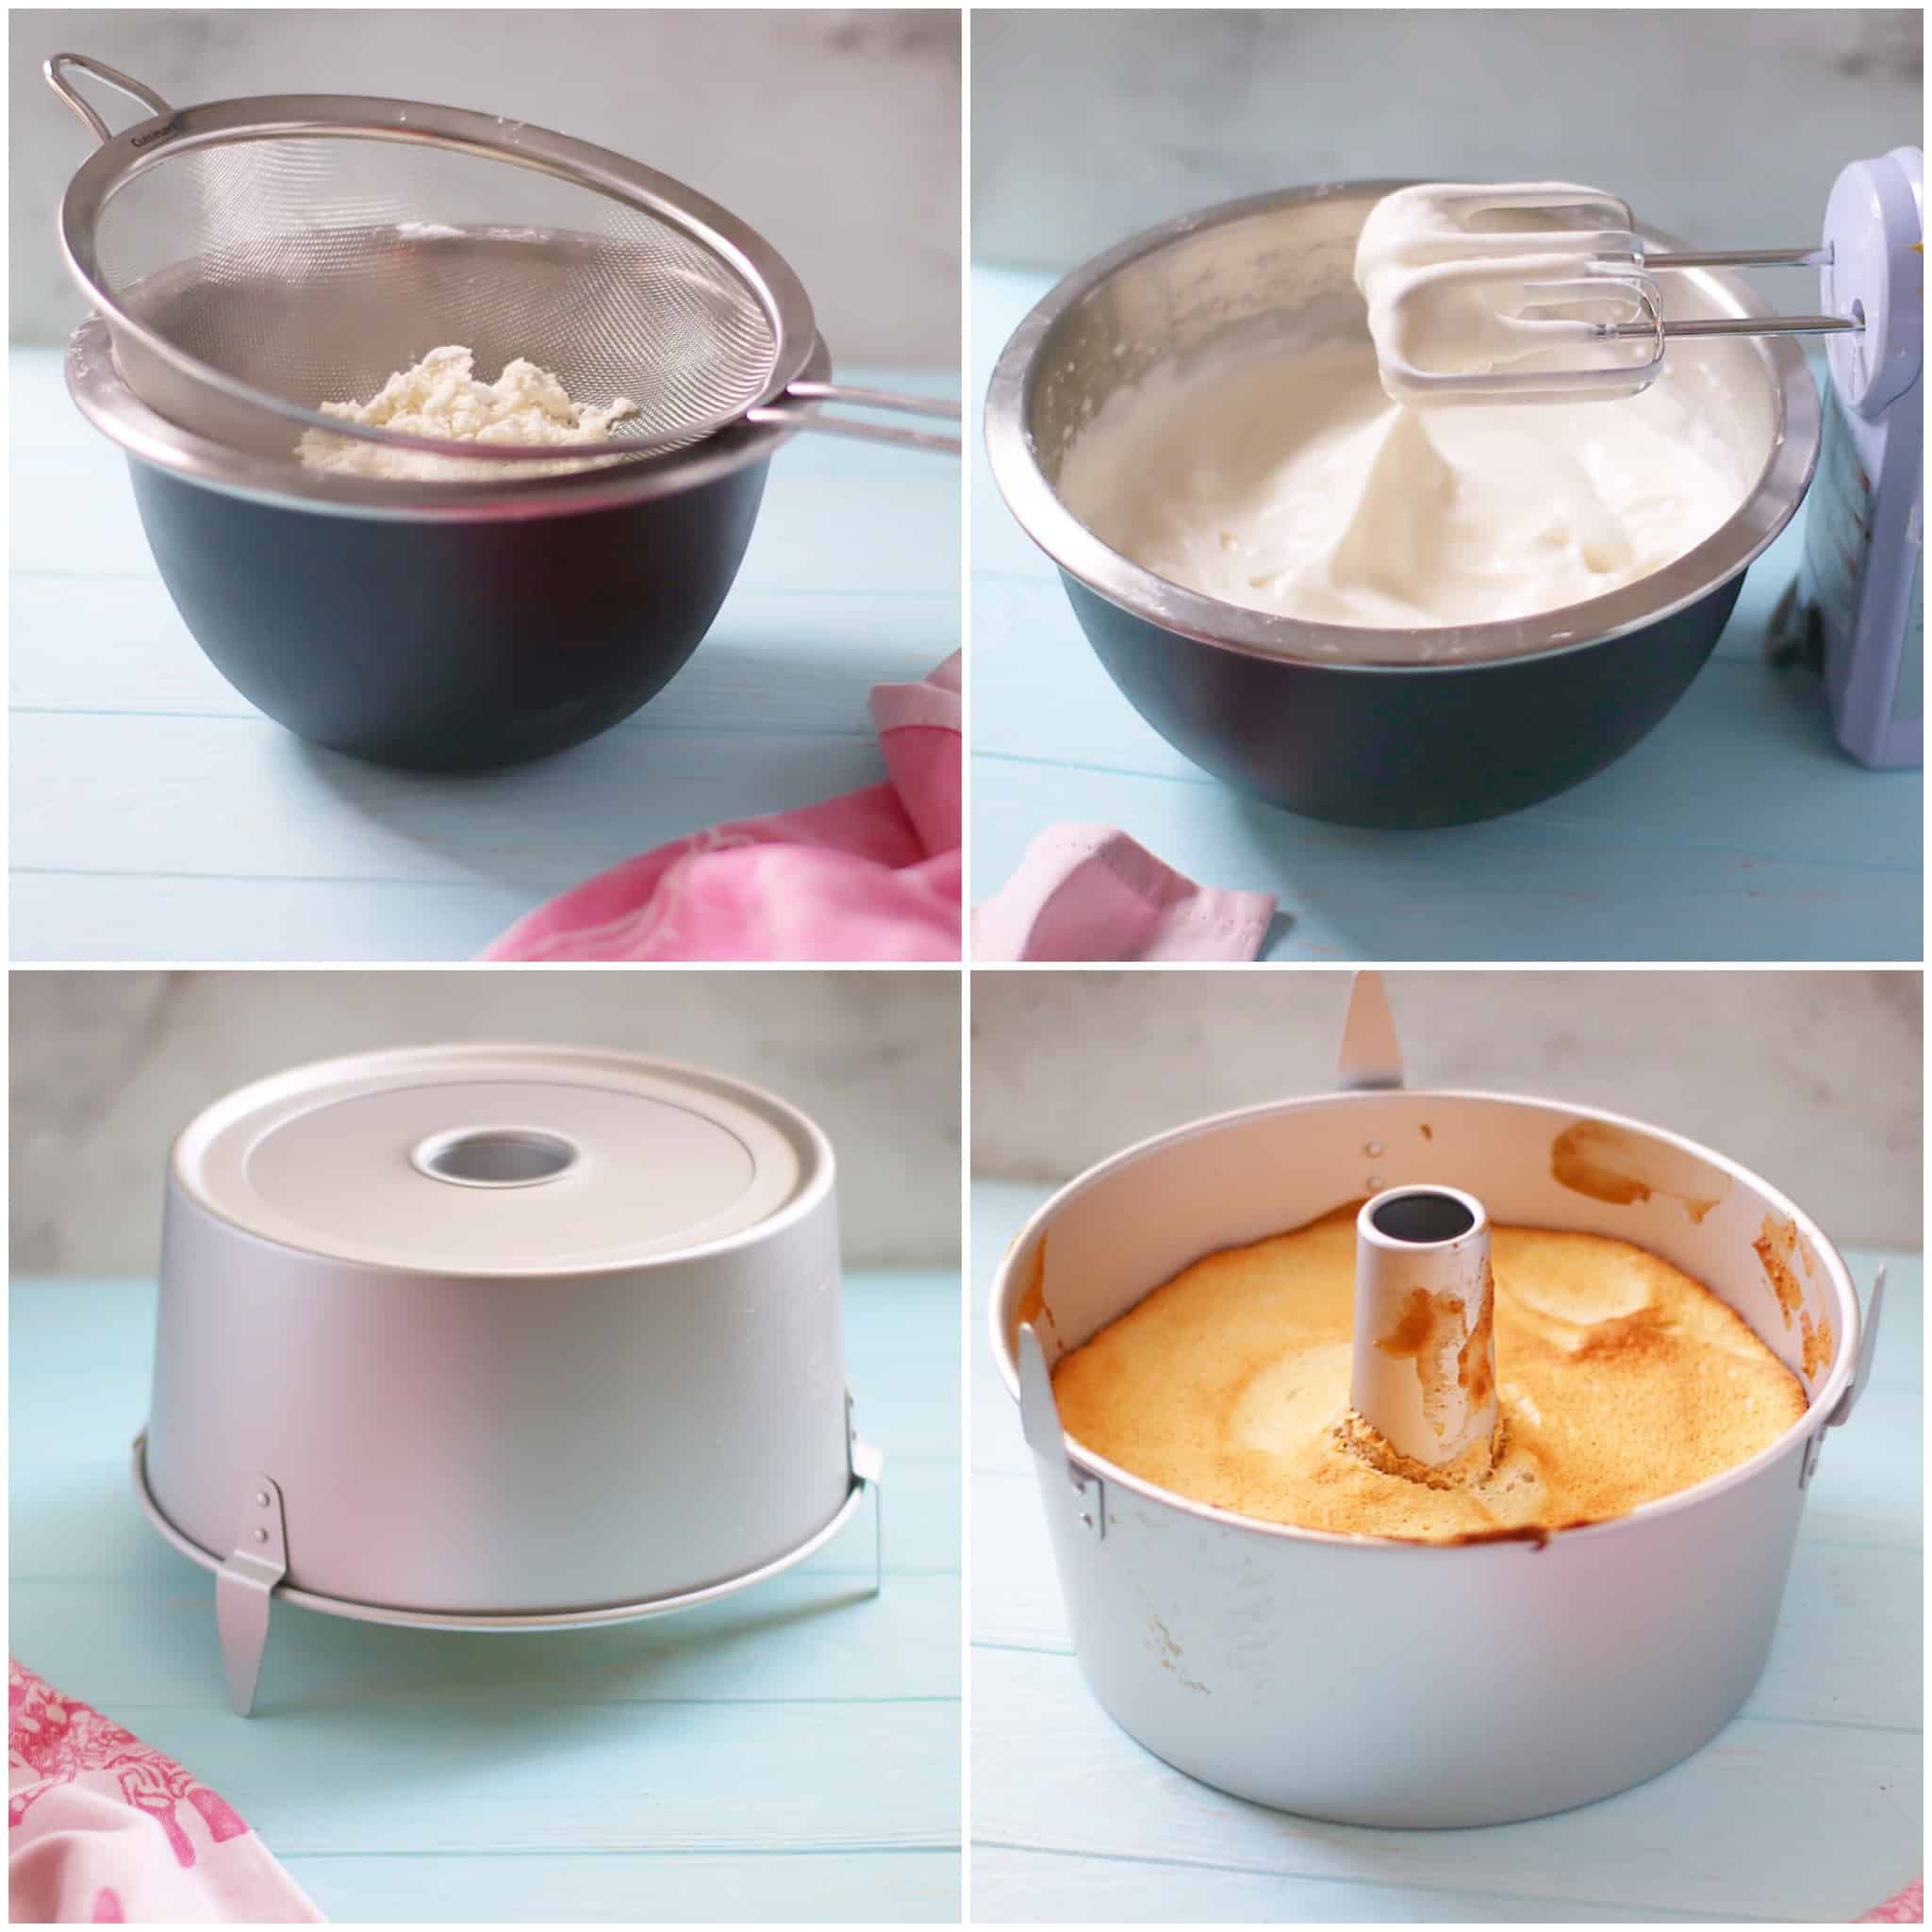
-We tested this recipe using both the Nordic Ware Angel Food Cake Pan and an aluminum bundt pan. The angel food pan definitely takes a lot of hassle out of the equation as it has legs to stand on when you flip it over, making the cooling process a breeze. A bundt pan will offer a lovelier shape (in my opinion) but you will need to find a compatible bottle to invert the pan onto.
-This cake must be baked in an ungreased pan. The cake “climbs” the pan wall during the baking process, allowing it to rise further and this would not be able to occur with a greased pan. The cake attaching itself to the pan is also necessary as it prevents the cake from falling out once it’s inverted-which brings us to the next tip…
-When you remove the cake from the oven, you must flip the cake pan over to stand on it’s legs. This will allow the cake to maintain it’s height and not to deflate. And it must cool completely in this manner before serving. If you are using a bundt pan, find a bottle ahead of time that is compatible with the pan, one that the pan can rest on safely without wobbling too much. (The goal basically is to suspend the cake upside down so that it can cool and maintain it’s shape).
-This recipe uses 10 egg whites instead of the traditional 12, so the cake will not be quite as tall as the traditional version.
-**Honey Sweetened Version** Omit the sugar. Add 1/3 cup of honey to your raw egg whites, along with the vanilla + lemon extract. Sift the cream of tartar overtop and blend together until you have very soft peaks. This will take approximately 3 minutes. Do not overmix. Then continue with the recipe as written below.
-1/4 tsp of baking powder added to the flour mix can give just a touch of airiness to the cake, but I recommend being extra careful when folding your flour mixture into the egg whites.
-And finally + most importantly, enjoy and serve with berries and whipped cream! If you are dairy-free, So Delicious carries a coconut variety. It’s also easy to make a coconut whipped cream. I recommend this fail proof recipe by Karen Gaudette Brewer.
Enjoy the recipe + Happy Cake Making!
Print

Grain-Free Angel Food Cake
- Total Time: 1 hr 5 min
- Yield: 8-10 slices 1x
Ingredients
- 10 Egg Whites
- 1 teaspoon vanilla extract
- 1/2 teaspoon lemon extract (orange or almond extract will work as well)
- 1 teaspoon cream of tartar
- 1/2 cup sugar (you can find the honey sweetened version in the “tips” section above).
- 3/4 cup almond flour (Bob’s Red Mill)
- 1/2 cup potato starch (not potato flour)
Instructions
- Preheat oven to 325 degrees
- In a medium sized bowl, sift together the almond flour and potato starch twice. (Tip-Use a cup to move the flour back and forth in the sifter, it will move through more easily and at a faster rate). Set sifted flour aside.
- In a large bowl, add 10 egg whites (making sure not to allow any yolk into the mix), vanilla and lemon extract. Sift cream of tartar overtop.
- Using a hand mixer on low speed, start to blend together egg white mixture. Gradually increase the speed to high. The egg whites will start to become frothy, doubling and tripling in size. Slowly sift in your sugar at this point while blending. Continue to blend (another 2 minutes or so) until soft peaks form. (Do not over blend).
- Using the sifter again, sift 1/3 of your flour mixture overtop of your egg whites. Fold in very gently with a wooden spoon or rubber spatula. Continue adding in the flour 1/3 at a time until all is incorporated. It is important that you fold very gently to keep the integrity of the egg whites. It’s better that you combine gently and not quite evenly than evenly with too much force and deflated egg whites.
- With a wooden spoon or rubber spatula, gently spoon batter into your UNGREASED Nordic Ware angel food cake or aluminum bundt pan. Place into oven and bake at 325 degrees for 40-45 minutes. (Keep oven door closed with light on during the baking process, peak in at 40 minutes). It will be golden brown with crust (honey sweetened version should appear golden brown with less crust).
- Immediately invert the Nordic Ware pan and let stand on it’s legs until COMPLETELY cooled. (I like to invert the pan onto a wire rack to provide even more ventilation). If you are using a bundt pan, invert and rest the pan on a bottle. (Check ahead of time to find a bottle that fits with the middle of the pan, so that the pan can rest on top without wobbling too much).
- When cake is cooled completely, flip the pan and run a knife around the edges. Cut and serve with fruit and whipped cream (or coconut whipped cream for dairy-free version). Cover and leftovers lightly with saran wrap. Enjoy!
- Prep Time: 20 min
- Cook Time: 45 min



Those sound like some fond summer memories. Thanks for sharing! I can picture it now 🙂 Strawberry Shortcake and Angel Food Cake, have always been one of my classic favorites too. This recipe makes me want to re-visit this delicious dessert. I love that you have tried it using two types of sweeteners as well. Makes it totally do-able for people who can’t have cane sugar. Well done!
Oh thank you so much for you kind comment and words, Noelle!! I’m always excited to include a honey sweetened version when I can, my husband and I both do much better with natural sweeteners, although sometimes we do cheat! 😉
Can you just come out with a cookbook?!! I would be your first customer!! I’m horrible and visiting blogs but I have good intentions LOL!! I want to make every single one of your recipes haha! My family would love you!! Move over Betty Crocker we’ve got Lila Ruth in the house This angel food cake is another at the top of my list! I can actually taste it through the page
Haha, thank you so much Natalie!! 🙂 I appreciate your kind words so much! I am working on an ebook now, hoping to get it out before the end of the year if I can! I really hope you enjoy the Angel Food Cake, I love the delicate flavor, such a fun recipe for summer. 😉
Hello, looks delicious! I am confused though, as it doesn’t say where or when to add the sugar? Amazing!! <3
Hi Becky, Thanks so much! I’m so sorry that instruction was left out, thanks for catching that! I’ve just gone in and fixed it. The sugar is added to the egg whites as they are being blended. 🙂
Can I substitute tapioca starch or arrowroot for the potato starch in this recipe?
Hello, thank you for your comment! I have not tested this cake with tapioca or arrowroot, so I cannot say for absolute sure. But between the two, I would use tapioca starch and just a bit less than 1/2 cup as it will provide more elasticity than the potato starch. I hope you enjoy the cake! 🙂