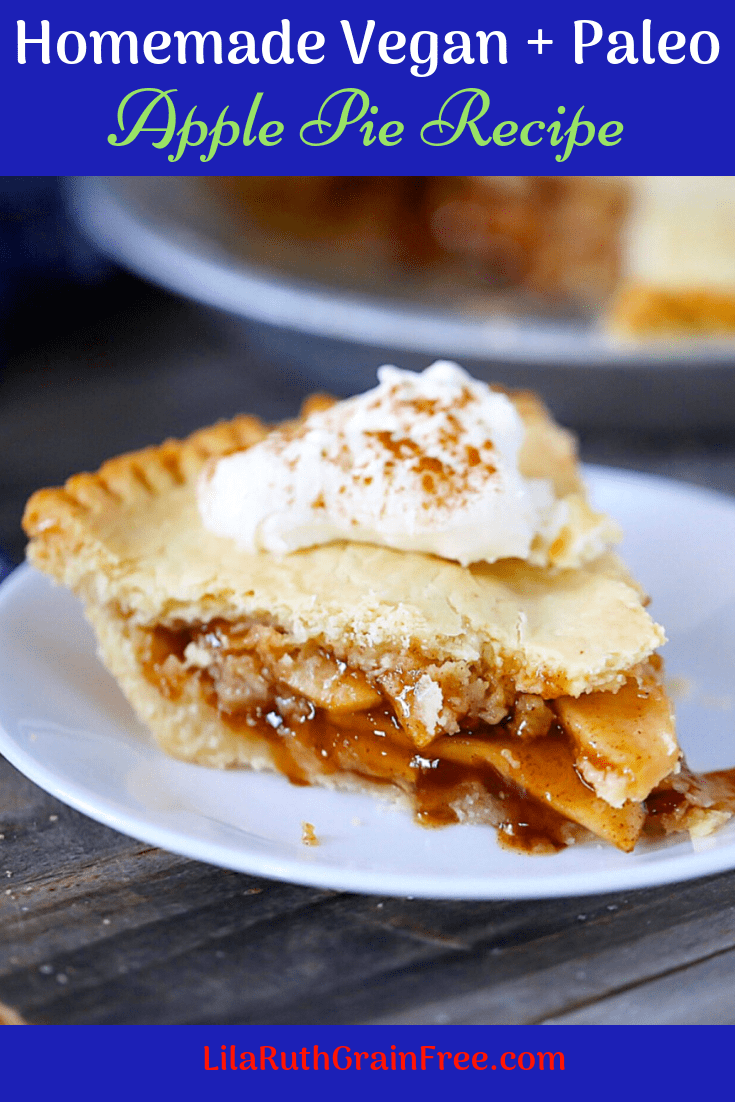
Paleo + Vegan Apple Pie
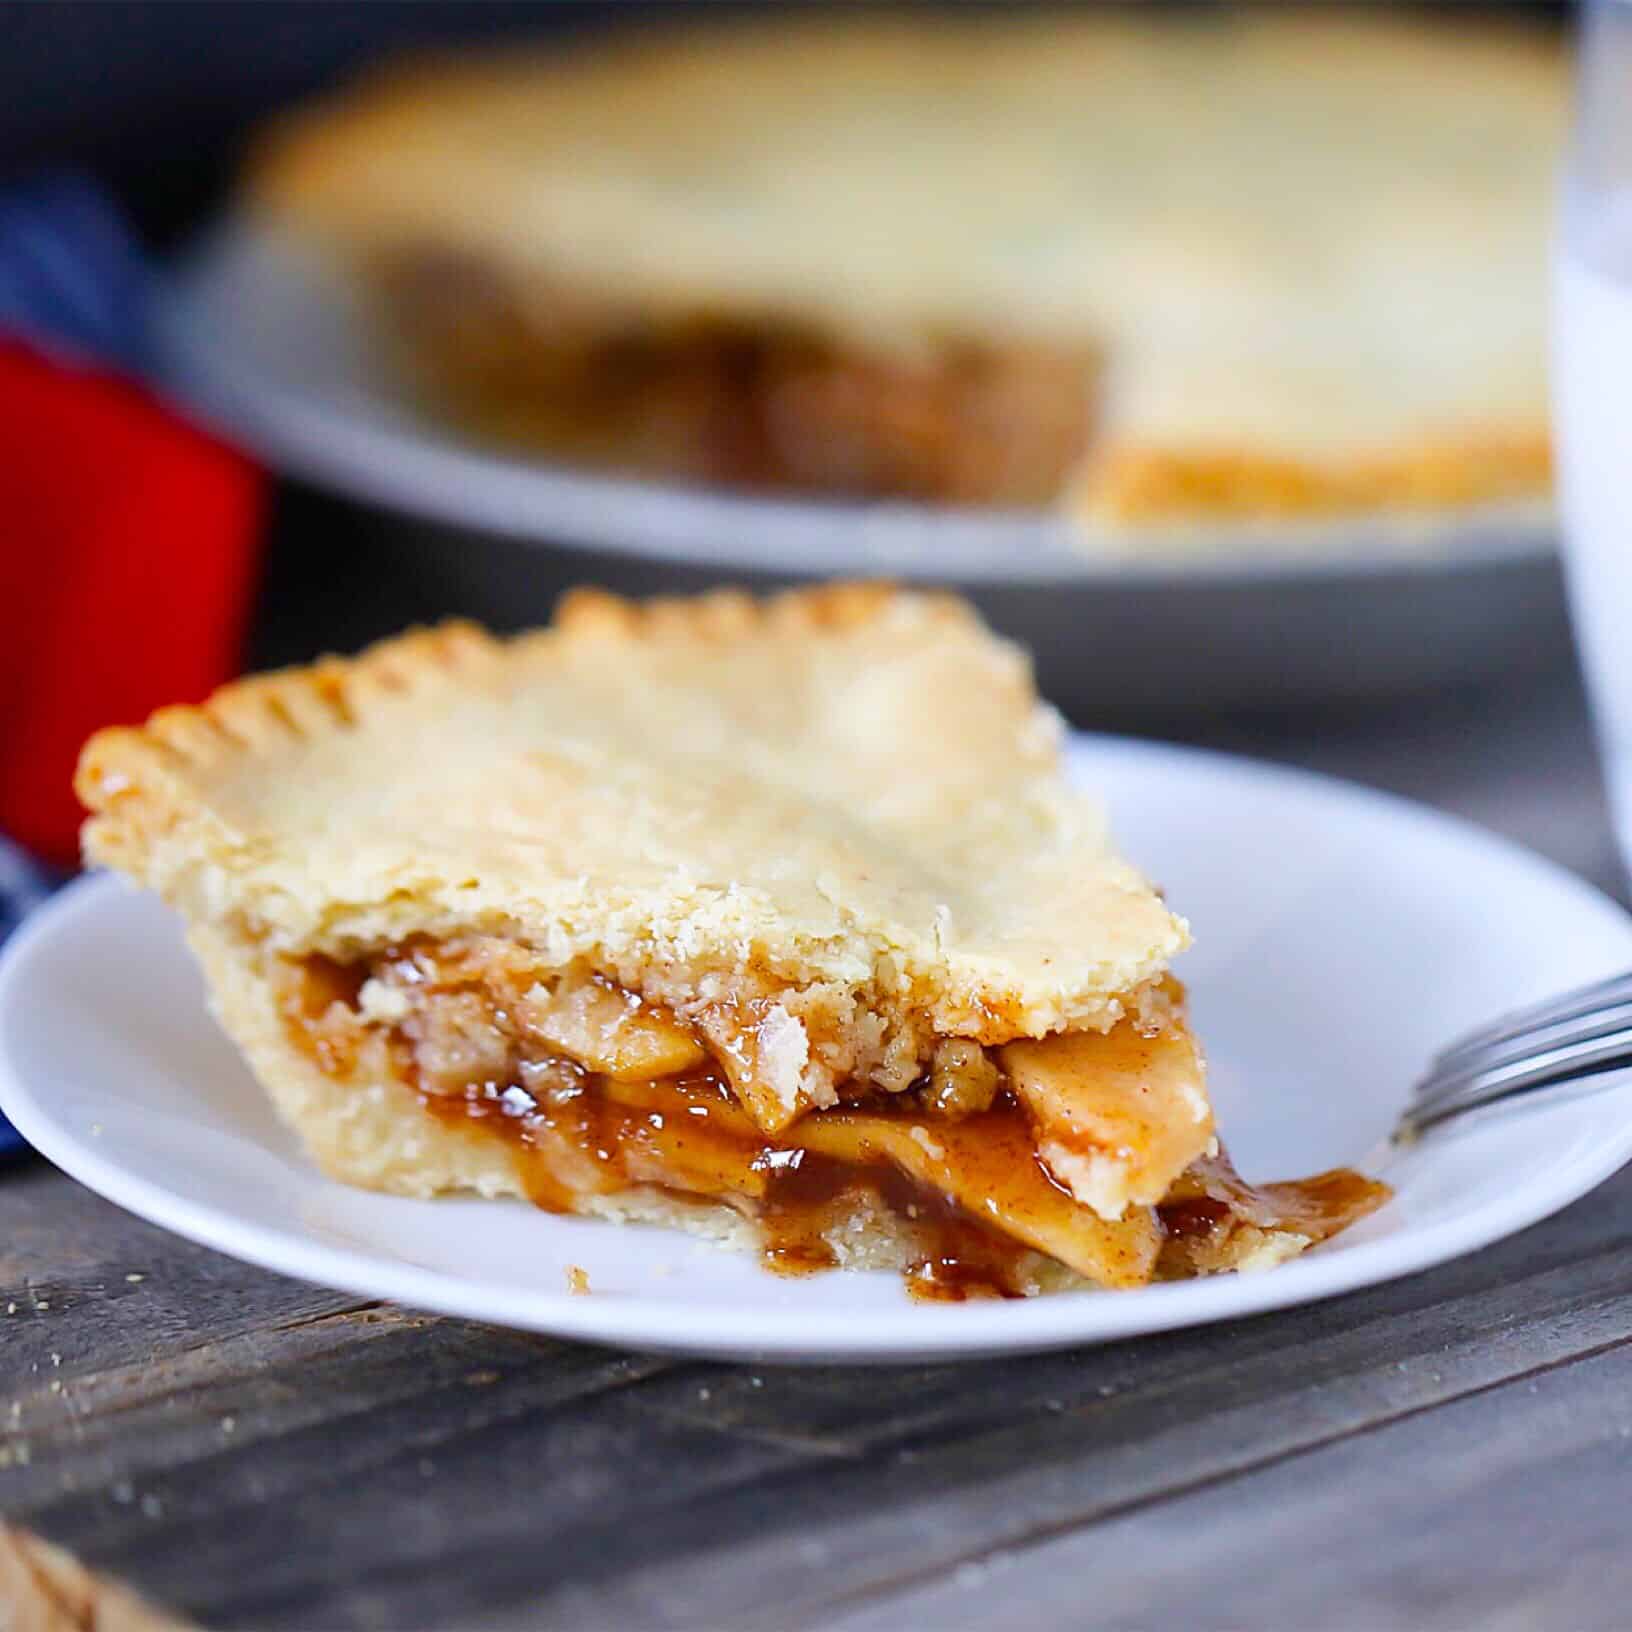
Dive into a buttery, flakey slice of warm Paleo + Vegan Apple Pie! Just like Grandma used to make.
Apple Pie (Grain-Free, Paleo + Vegan)
My memories of apple pie go way back. Thirty seven YEARS way back. In fact, I have a photo of the very moment that it became a lasting part of my memory. That’s me with my Grandmother Lila Ruth at my Great-Grandmother’s house, Thanksgiving of 1979.
You’re actually only seeing a fraction of them in the photo, but there were pies all around. I remember being very impressed by the look of them and sneaking pieces of the crust. I’m also a notorious icing sneaker. My parents had to pretty much put birthday cakes on lockdown because I would surreptitiously remove an icing flower (or two) and replace the lid in such a way that it would appear to still be unopened. Of course, when it came time to light the candles, my sneaks were revealed and there would only be a few sad looking flowers left and uneven piping along the edges! (Oops!) And no one of course would believe my claims that the bakery clearly needed a better skilled cake decorator— they had my number! 😉 But I digress, back to the pie! Apple pie is of course a forever classic and I tested and retested this recipe until I was absolutely satisfied-and I really am so excited to share it with you, a lot of love went into it!
And speaking of love, you will have to add a little of your own as Grain-Free crust requires just a bit more patience than traditional glutinous crust— but it’s loads of fun to work with. The consistency is a lot like play-doh. You could easily get distracted by making little play-doh crust animals, but stay focused, you need pie!
One last thing before we head to the recipe, I recommend using either foil around the edges or a pie crust shield starting at about 30 minutes into the bake. I find the edges brown a bit too much in that last 15 minutes and the foil/protector will prevent that from happening.
Oh and one final thing, happy baking!! 😀
If you love this pie, we think you might also enjoy our Grain-Free Cherry Pie!
Paleo + Vegan Apple Pie
- Total Time: 1hr 40 min
- Yield: 8 slices 1x
Ingredients
- Crust:
- 2 2/3 cups almond flour (Bob’s Red Mill)
- 1 cup + 1 tbsp tapioca starch
- 1 teaspoon salt
- 1/2 cup butter, cubed (Earth Balance for Vegan, Ghee for Paleo version)
- 1/4 cup + 1tbsp cold water
- Filling:
- 4 large apples, or 6 small (peeled, cored and sliced).
- 1/2 cup + 2 tbsp coconut sugar
- 3 tablespoons tapioca starch
- 2 teaspoons cinnamon
- 1/2 teaspoon gelatin (agar powder for vegan version)
- 1 teaspoon lemon zest
- 1 tablespoon lemon juice
- 1 teaspoon vanilla
- Coconut Whipped Topping: (Optional)
- The solid cream from two cans of chilled coconut milk (view instructions for details)
- 1/4 teaspoon gelatin
- 1/8 teaspoon vanilla extract
- drizzle of honey or tiny pinch of stevia
Instructions
- Preheat oven to 350 degrees
- Peel, core and slice apples and place them into large bowl. Add vanilla, lemon juice and zest. In a separate bowl, whisk together your coconut sugar, 3 tbsp of tapioca starch, cinnamon and 1/2 tsp gelatin (or agar powder). Add into apple mixture and toss well until distributed evenly. Set bowl aside.
- Now start on your crust: In another large bowl, whisk together your almond flour, tapioca starch and salt. Cut butter into flour with pastry cutter, making sure no pieces are larger than pea size.
- Slowly add your cold water into your flour/butter blend until dough has formed. (You can mix by hand or food processor if preferred). It will be stickier and more pliable than traditional dough–similar to play-doh. Let dough rest for a few minutes, it will thicken slightly.
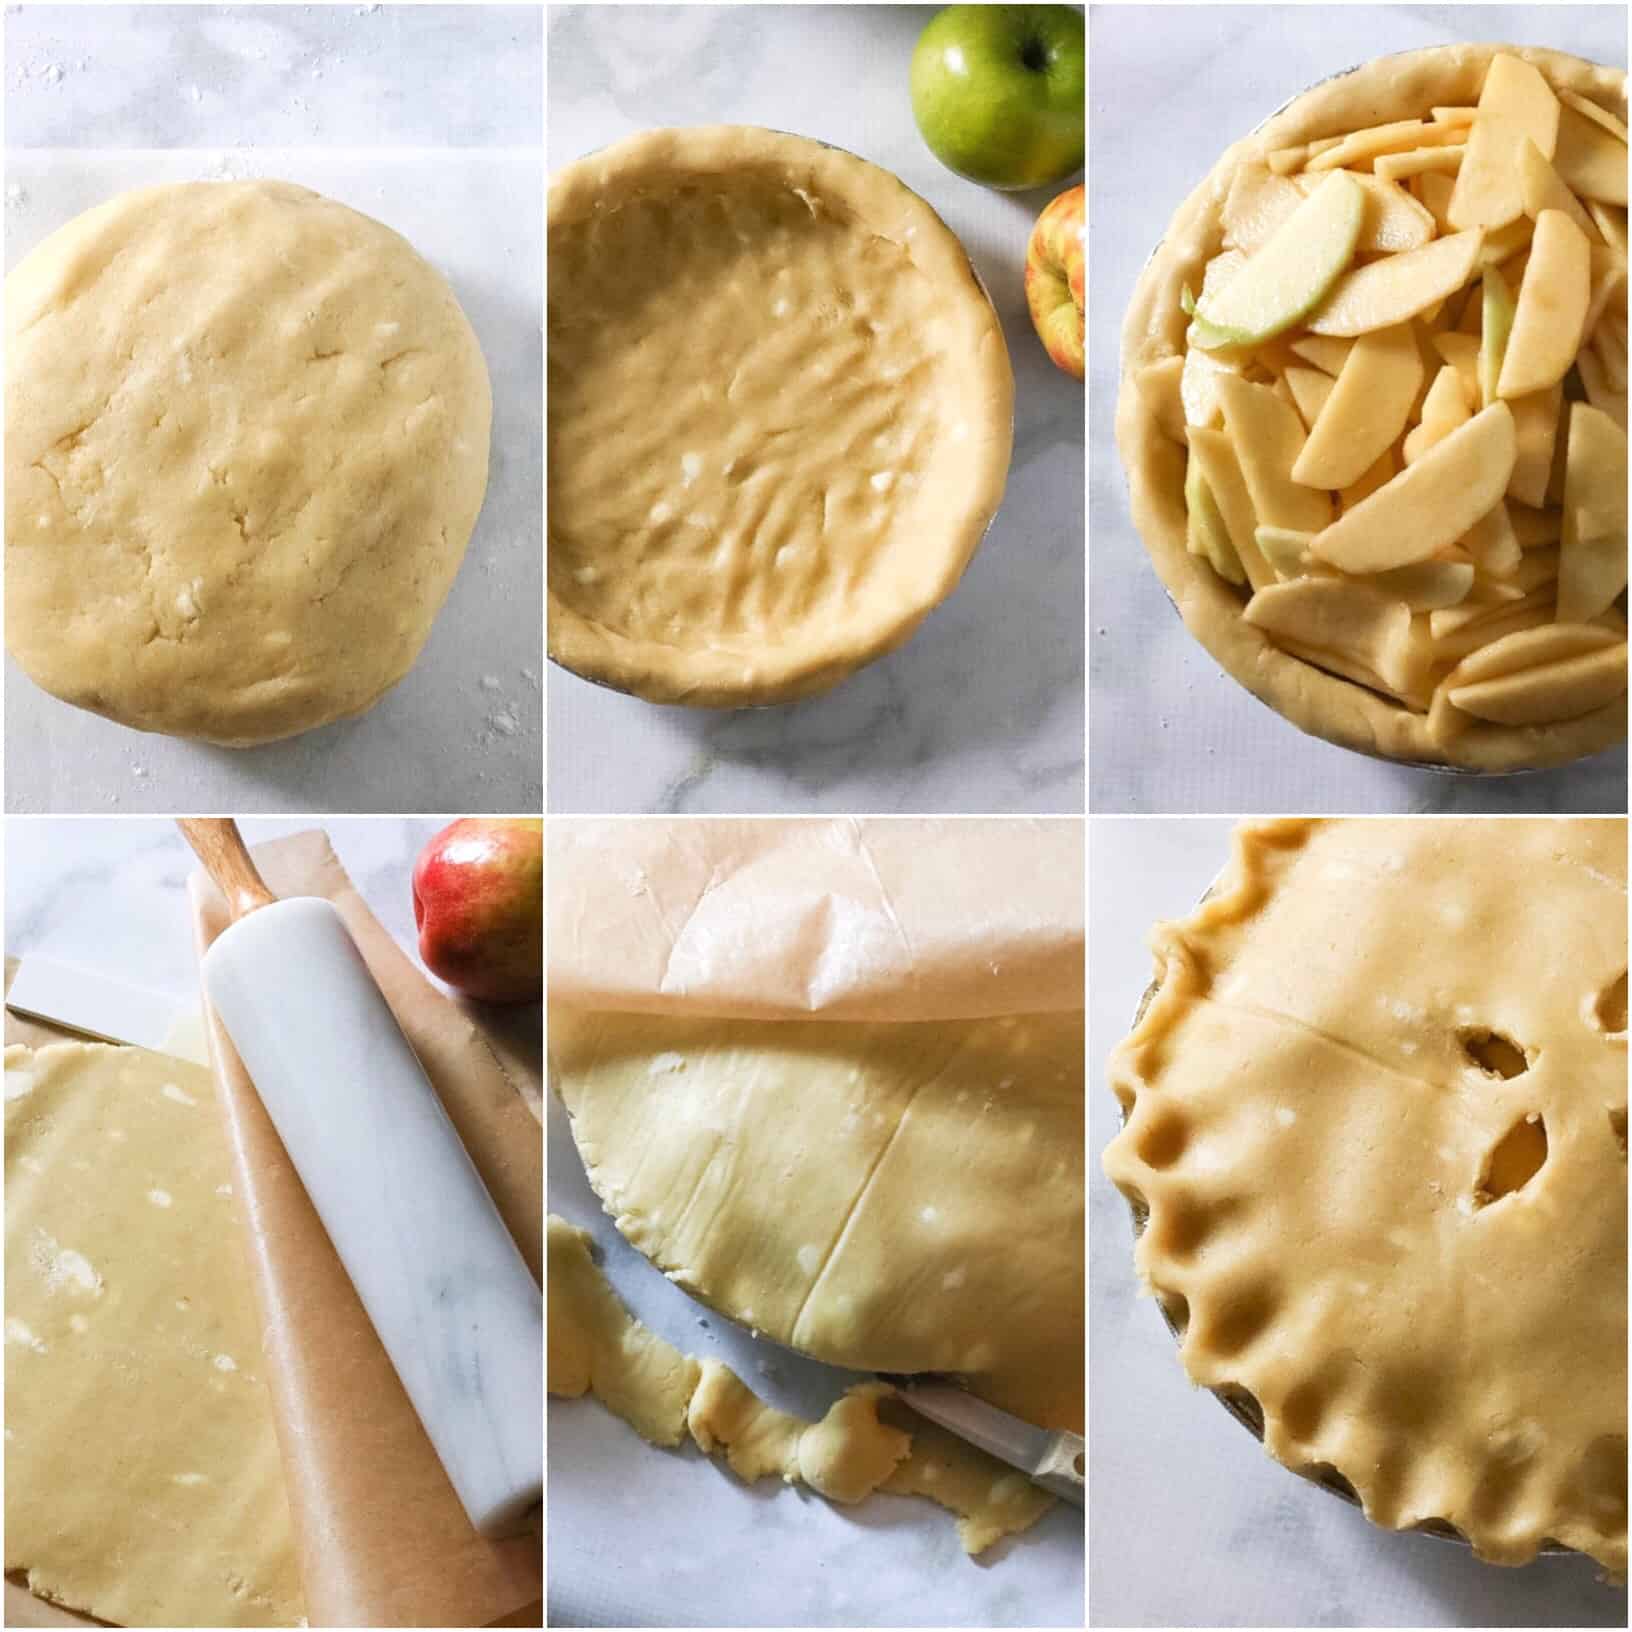
- Press half of your dough into the pie pan and work dough up the sides and around the edges. You may find it easier to work with the dough if you dip your fingers into water first. I keep a small cup by my working station. (Alternatively, you can roll the dough in-between two pieces of parchment paper, remove top layer and turn over onto pie pan and make any necessary adjustments.
- Then pour apple filling into the prepared pan.
- Roll out the remaining half of the dough in between two pieces of parchment paper. Peel off top layer of parchment paper. Swiftly and carefully turn rolled dough onto pie. Peel back the paper and trim excess. (View instructional photos above for guidance). It’s ok if there are cracks, they can be fixed easily by dipping your fingers into water and mending.
- Make a few vent holes, apply egg wash (we brush coconut milk on the pie for a vegan sub), flute or crimp edges with a fork. Carefully place pie into oven for 45-60 minutes (my oven takes closer to 60 minutes, but start checking in at 30 minutes. I like to place aluminum foil or a pie crust shield around the edges at this point to avoid outer edge burning. Make sure to let pie cool before serving, filling will set during cooling process.
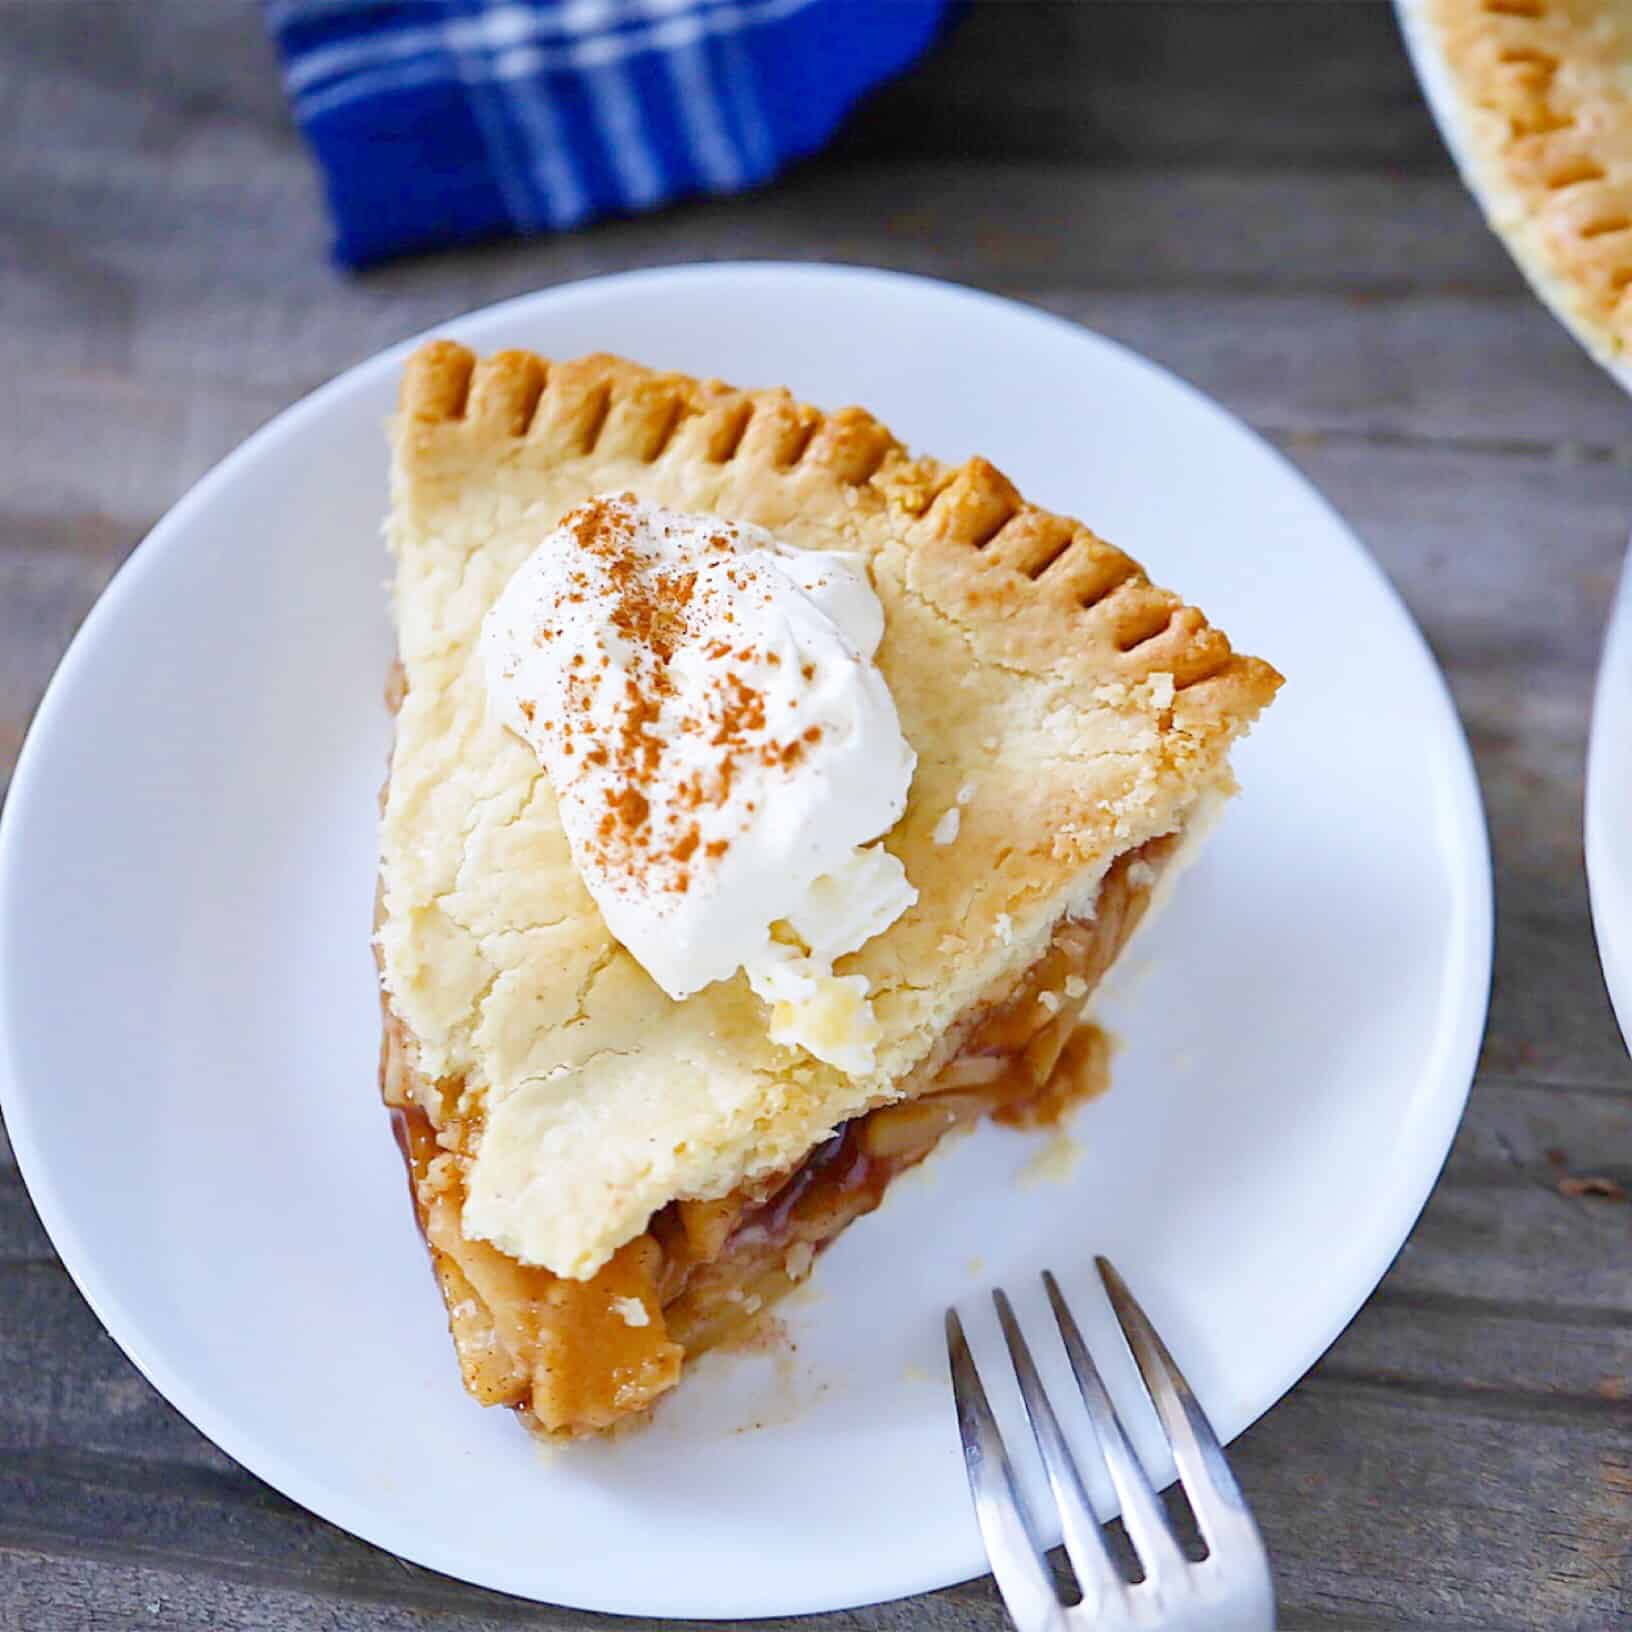
- Make your coconut whipped topping right before serving the pie. Open two cans of chilled coconut milk and remove just the cream on top, being careful not to transfer liquid a long with it. Place the cream in your chilled mixing bowl. Sprinkle 1/4 tsp of gelatin overtop and add a very small drizzle of honey and 1/8th tsp of vanilla extract. Blend for just 10-15 seconds, over blending tends to loosen the cream. Place in piping bag with star tip or spoon a dollop on each pie serving. Serve and enjoy! Cover and refrigerate leftovers.
- Prep Time: 45 min
- Cook Time: 55 min



5 Comments