Keto Peanut Butter Brownie Cake Bars
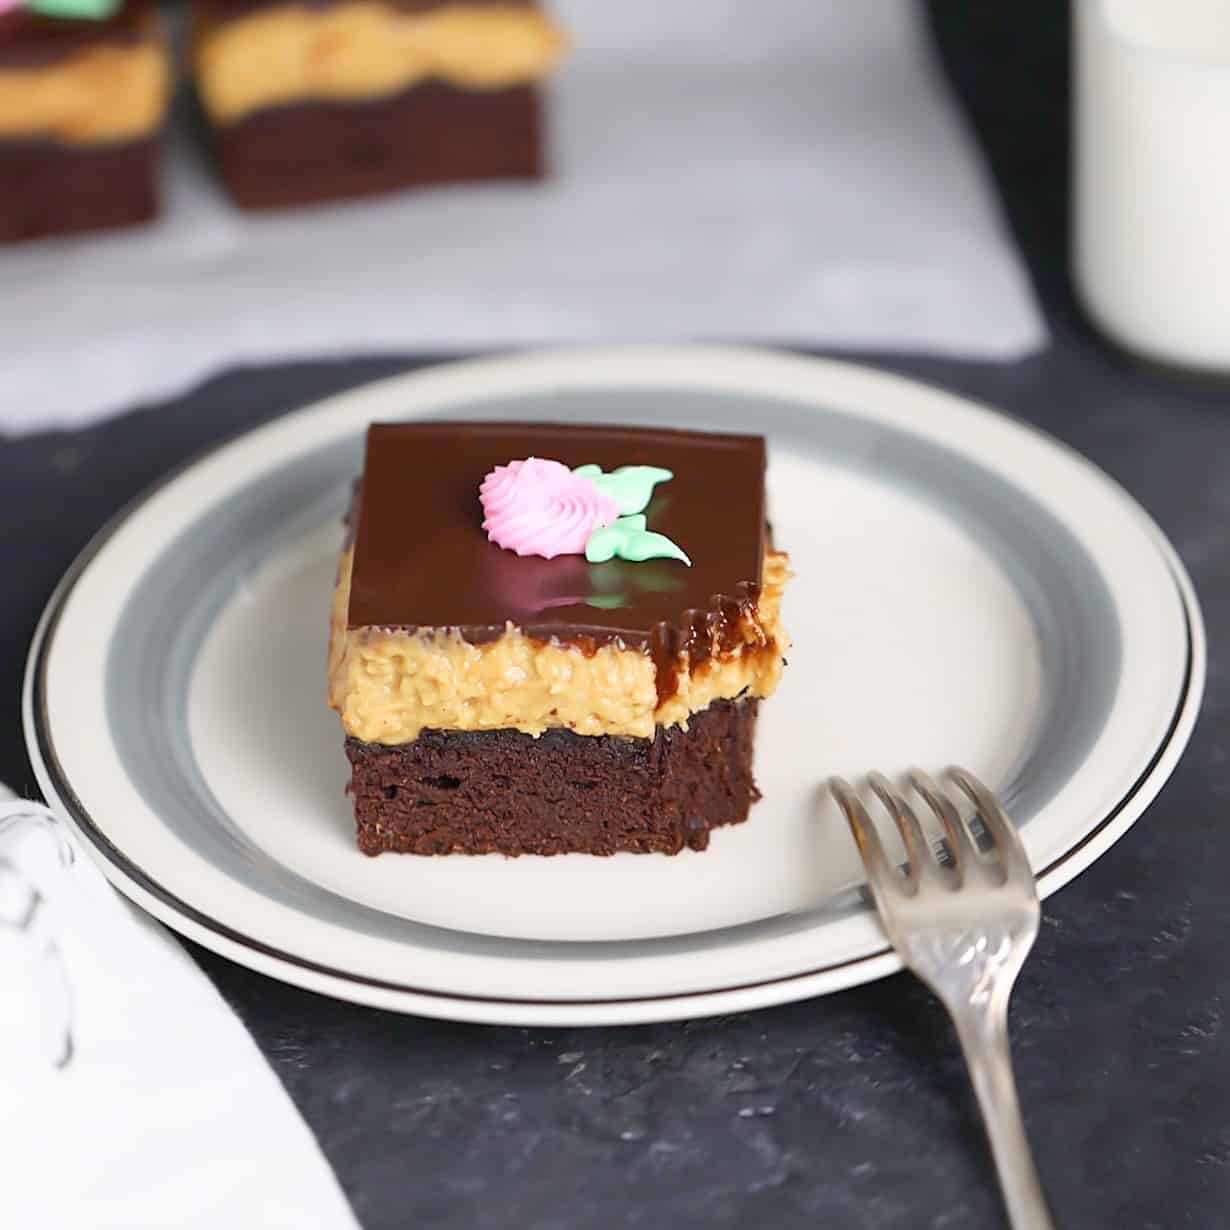
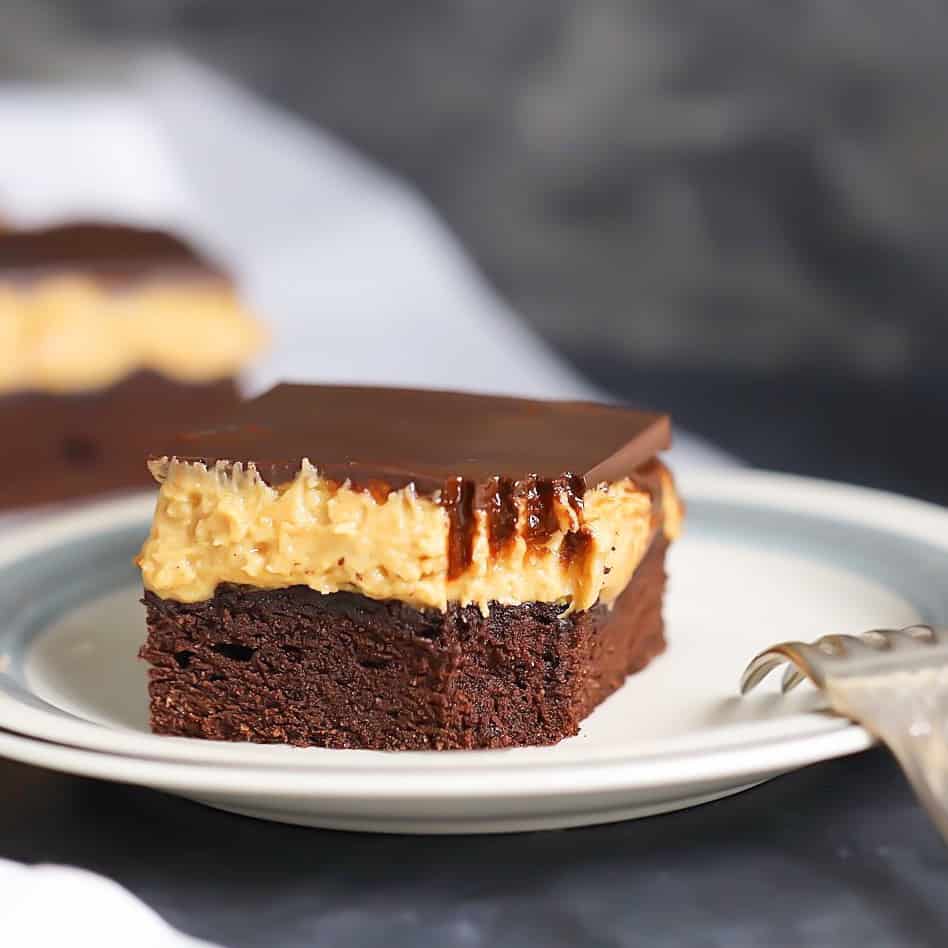
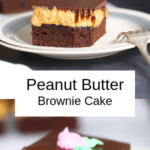
This luscious Keto Peanut Butter Brownie Cake Bars are guaranteed to conquer the strongest of peanut butter + chocolate cravings. A lovely treat for the week, it also makes a delicious and visually impressive dessert for guests.
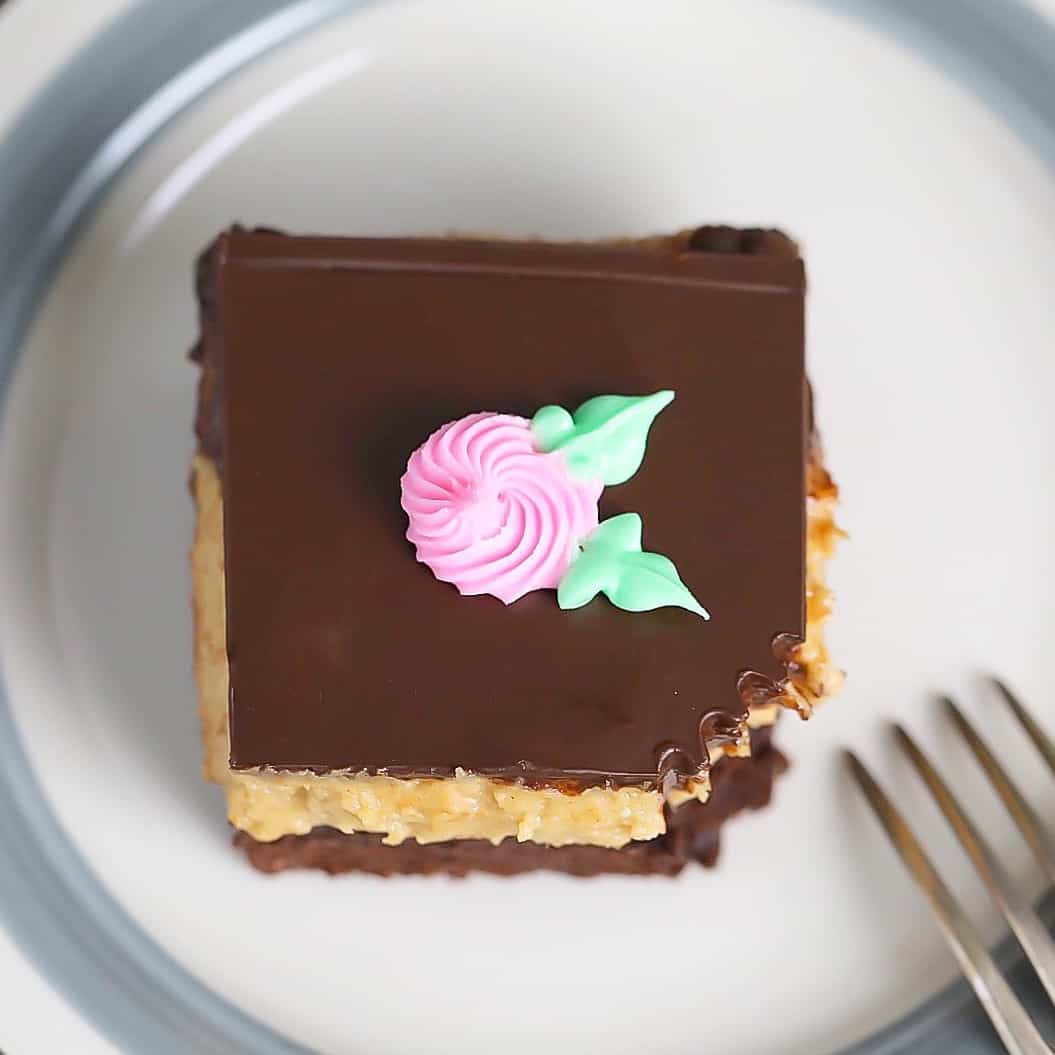
Whew, what a week! I’m totally perplexed as to how it is just now Thursday– it’s taking waaaaayyyy too long to get to Friday, don’t you think?? It’s not right!! My solution to this injustice? You guessed it, a large dose of peanut butter and chocolate. (With a frosted flower on top).🌷
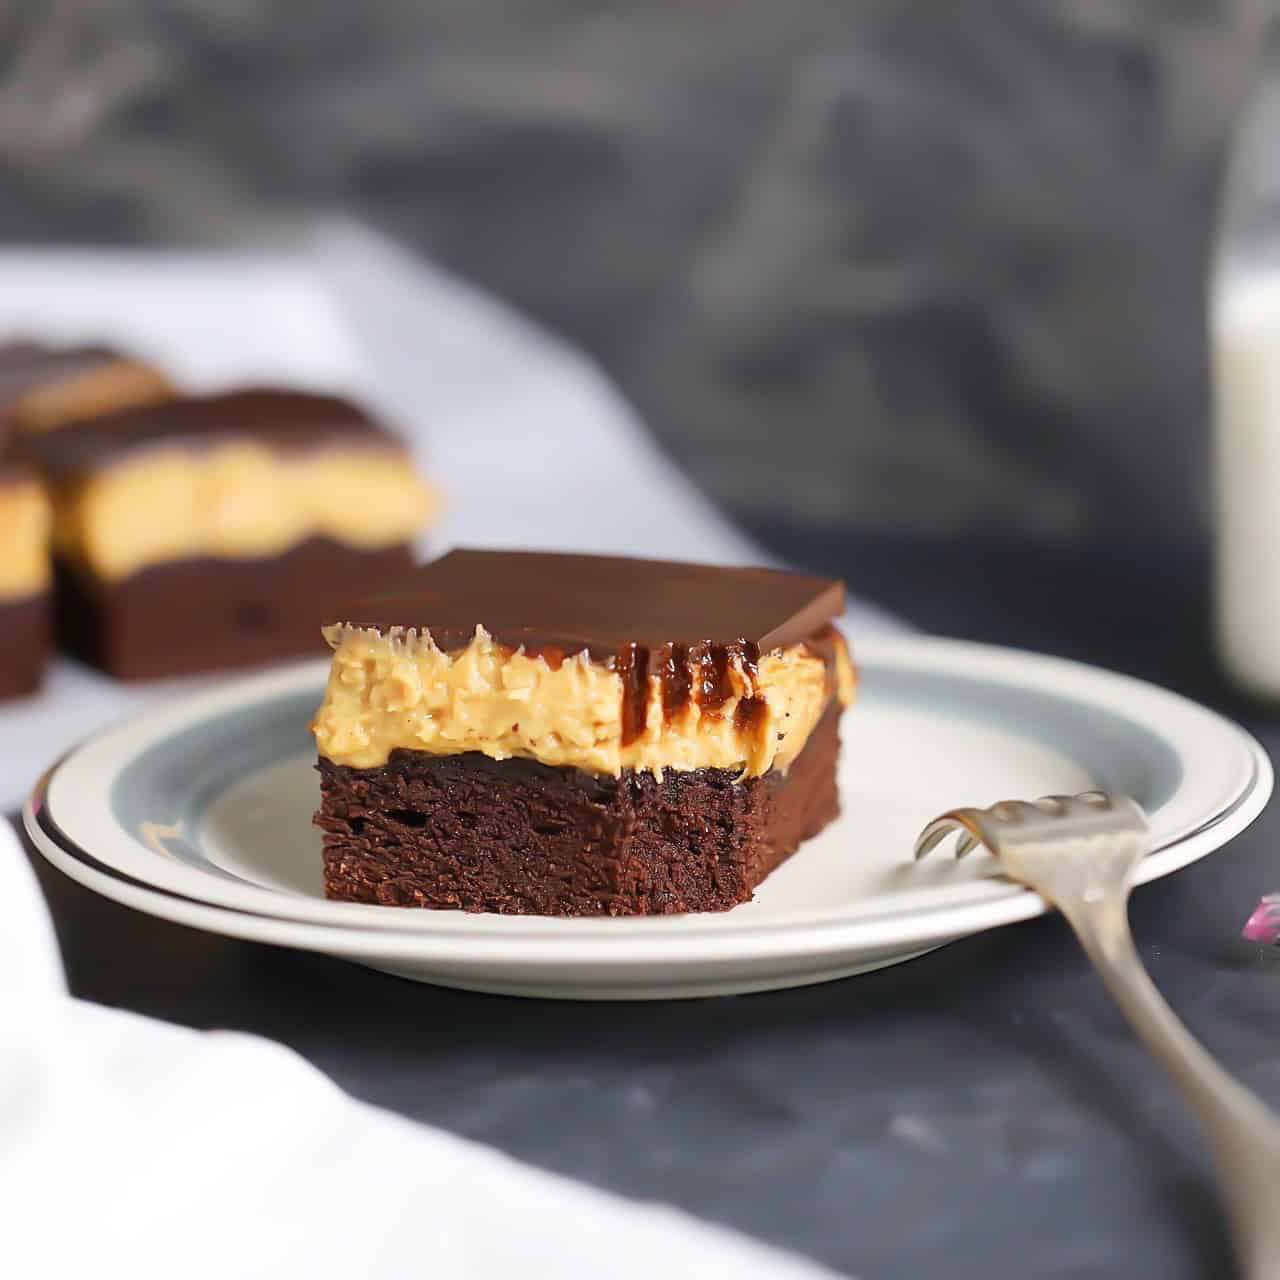
This decadent brownie treat has a generous, dreamy tier of peanut butter fluff to balance out the rich chocolatey layers. It is a dessert to savor, although we repeatedly wolfed down each slice.
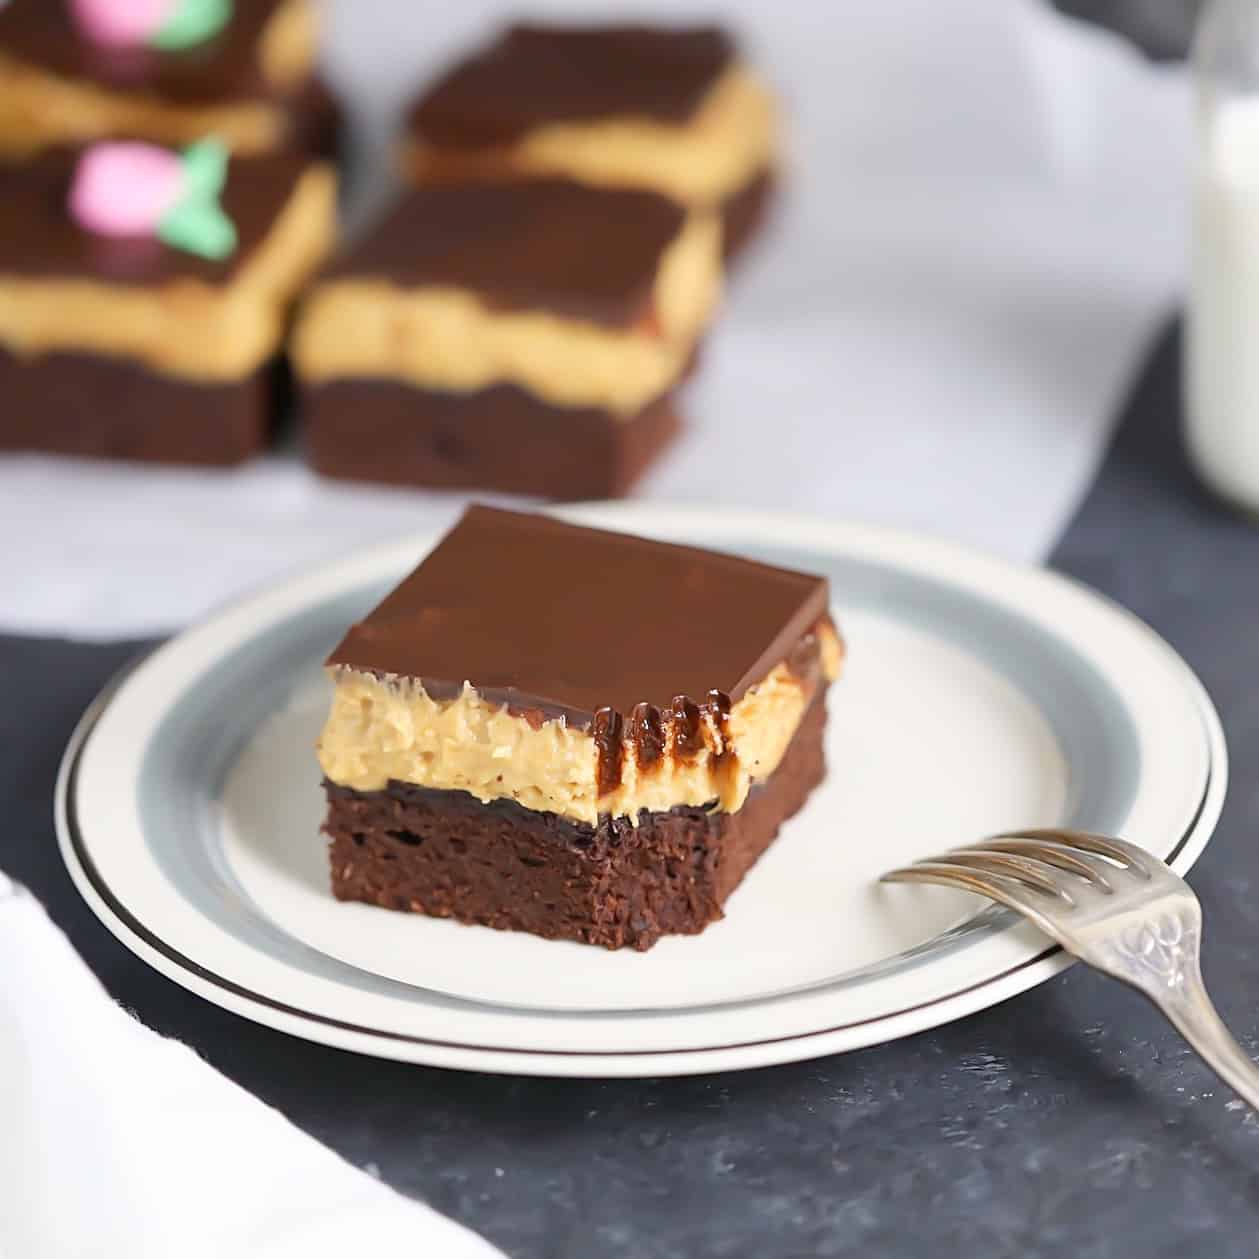
no one your guests.
If you love this PB Brownie Cake, you’ll love our Keto PB Dream Cupcakes!
Tips:
-Read your ingredients list and instructions prior to baking, this step alone brings great ease to the process.
-Make sure to cool your brownie cake completely without removing it from the pan as you want the peanut butter filling to stay nice and firm.
-Use a hot knife to cut into the brownie cake–it will cut through the top easily, giving you a nicer slice.
***For the flower on top, we used a small open star tip and a small leaf tip. (We used Swerve Confectioner with butter, milk, vanilla, salt and food coloring for the frosting).
Happy Baking, Enjoy the Recipe!😊
Keto Peanut Butter Brownie Cake Bars
- Total Time: 50 min
- Yield: 12 squares 1x
- Diet: Gluten Free
Description
5.3 net carbs for once square (12 slices total)
Ingredients
Brownie Layer
- 1 + 1/2 cups almond flour (Bob’s Red Mill)
- 1/4 cup coconut flour
- 1/4 cup cocoa powder (Droste brand for richer color and flavor)
- 1 teaspoon guar gum
- 1/2 teaspoon gelatin
- 1/2 cup Swerve Sugar Replacement (You can use their brown sugar replacement if preferred)
- 1/4 teaspoon baking soda
- 1/2 cup Lilys Chocolate chips or their dark chocolate chips for dairy-free
- 6 tbsp melted butter (Earth Balance for Dairy-Free)
- 1 egg
- 1/2 tablespoon vanilla extract
- 1.5 tablespoons half and half or coconut milk
Peanut Butter Filling
- 4 tablespoons butter (softened to room temp, not melted)
- 3/4 cup peanut butter
- 3/4 cup Swerve Confectioners Sugar Replacement
- 1 tablespoon milk (or cream or coconut milk)
- 2 teaspoons vanilla extract
Chocolate Top
- 4 Ounces Baker’s Chocolate, Unsweetened. (or unsweetened Ghiradelli )
- 2 tablespoons coconut oil
- 1/4 cup Swerve Confectioners Sugar Replacement
Instructions
- Preheat oven to 350 degrees
- Go ahead and place your parchment paper into your 8×8 baking dish, set aside.
- Press the dough evenly into your 8×8 baking dish.
- Place your baking dish into the oven at 350 degrees uncovered for 20-25 minutes. At this point it will still be a touch soft in the middle, like a batch of brownies would be at this stage. (That is what you want-the middle will set during the cooling process and stay nice + moist this way).
- Remove the brownie from the oven and let it cool completely. Do not remove from baking dish. You can pop it into the freezer if you’re in a hurry.
- While you’re waiting for it to cool, make your peanut butter filling.
- Peanut Butter Filling
- Place the softened butter, peanut butter, vanilla and milk in a large bowl. Using a hand mixer, blend until smooth. Sift in your Swerve and blend again. Use a spatula to fold and smooth filling. Set aside.
- Once brownie cake is cooled, use a spatula to scoop out the filling and place it all on the middle of the cake. Smooth it out to the edges. Now place your brownie cake in freezer for 15 minutes so the filling will harden a bit. This will keep it from getting too soft when you spread the melted chocolate over top.
- Chocolate Topping
- Melt your 4 oz of chocolate in a microwave safe dish at 30-45 second intervals, stirring each time.
- When it is thoroughly melted, add your coconut oil and stir until smooth.
- Sift the 1/4 cup of Swerve in and stir quickly with a dry fork or whisk until nice and smooth.
- Pour melted chocolate over the peanut butter filling, making sure to reach the edges.
- Place your Peanut Butter Brownie cake back into the freezer for the chocolate to set. About 10 – 15 minutes.
- When you’re ready to serve, run a knife under hot water and carefully dry it with a towel—place the knife on top of the cake where you wish to cut and let it slowly melt into the chocolate. Then push through the rest of the cake. This will give you a nicer looking slice.
- Place leftovers in an airtight container, enjoy!!
- Prep Time: 30 min
- Cook Time: 20 min
- Category: Low-Carb
- Method: Baking
- Cuisine: Brownie Bars


I give it 5 for concept and beauty —- as soon as I get the ingredients and put it together— It will get 5 more— I’m sure
All your recipes are fantastic
You are so kind, thank you! 😀 I’m thrilled you’re enjoying the recipes and can’t wait for you to try the brownie cake!
What a beauty! That dreamy fluff tier looks so incredibly delicious. I will be sharing with no one , all mine… excited to try!
Aw thank you so much, dear Natalie!! 😀 I’m excited for you to try it and to keep it all for yourself!!
I’m in love! Right down my alley – peanut butter, brownies, chocolate! YUM! I bought your book Catherine! I can’t wait until I have a chance to delve into it more…Hopefully this weekend or next week but super excited and it looks beautiful. You should be so proud! 🙂
Thank you SO much, dear Kim!! Your support means the world and I can’t thank you enough!! I really hope you enjoy the cookbook, I’m just so thrilled you have it!! 😀
Looks so good! Can’t wait to make and try this one!!
Oh thank you so much! I hope you love the recipe! 😀