Best Keto + SCD Mini Pizzas
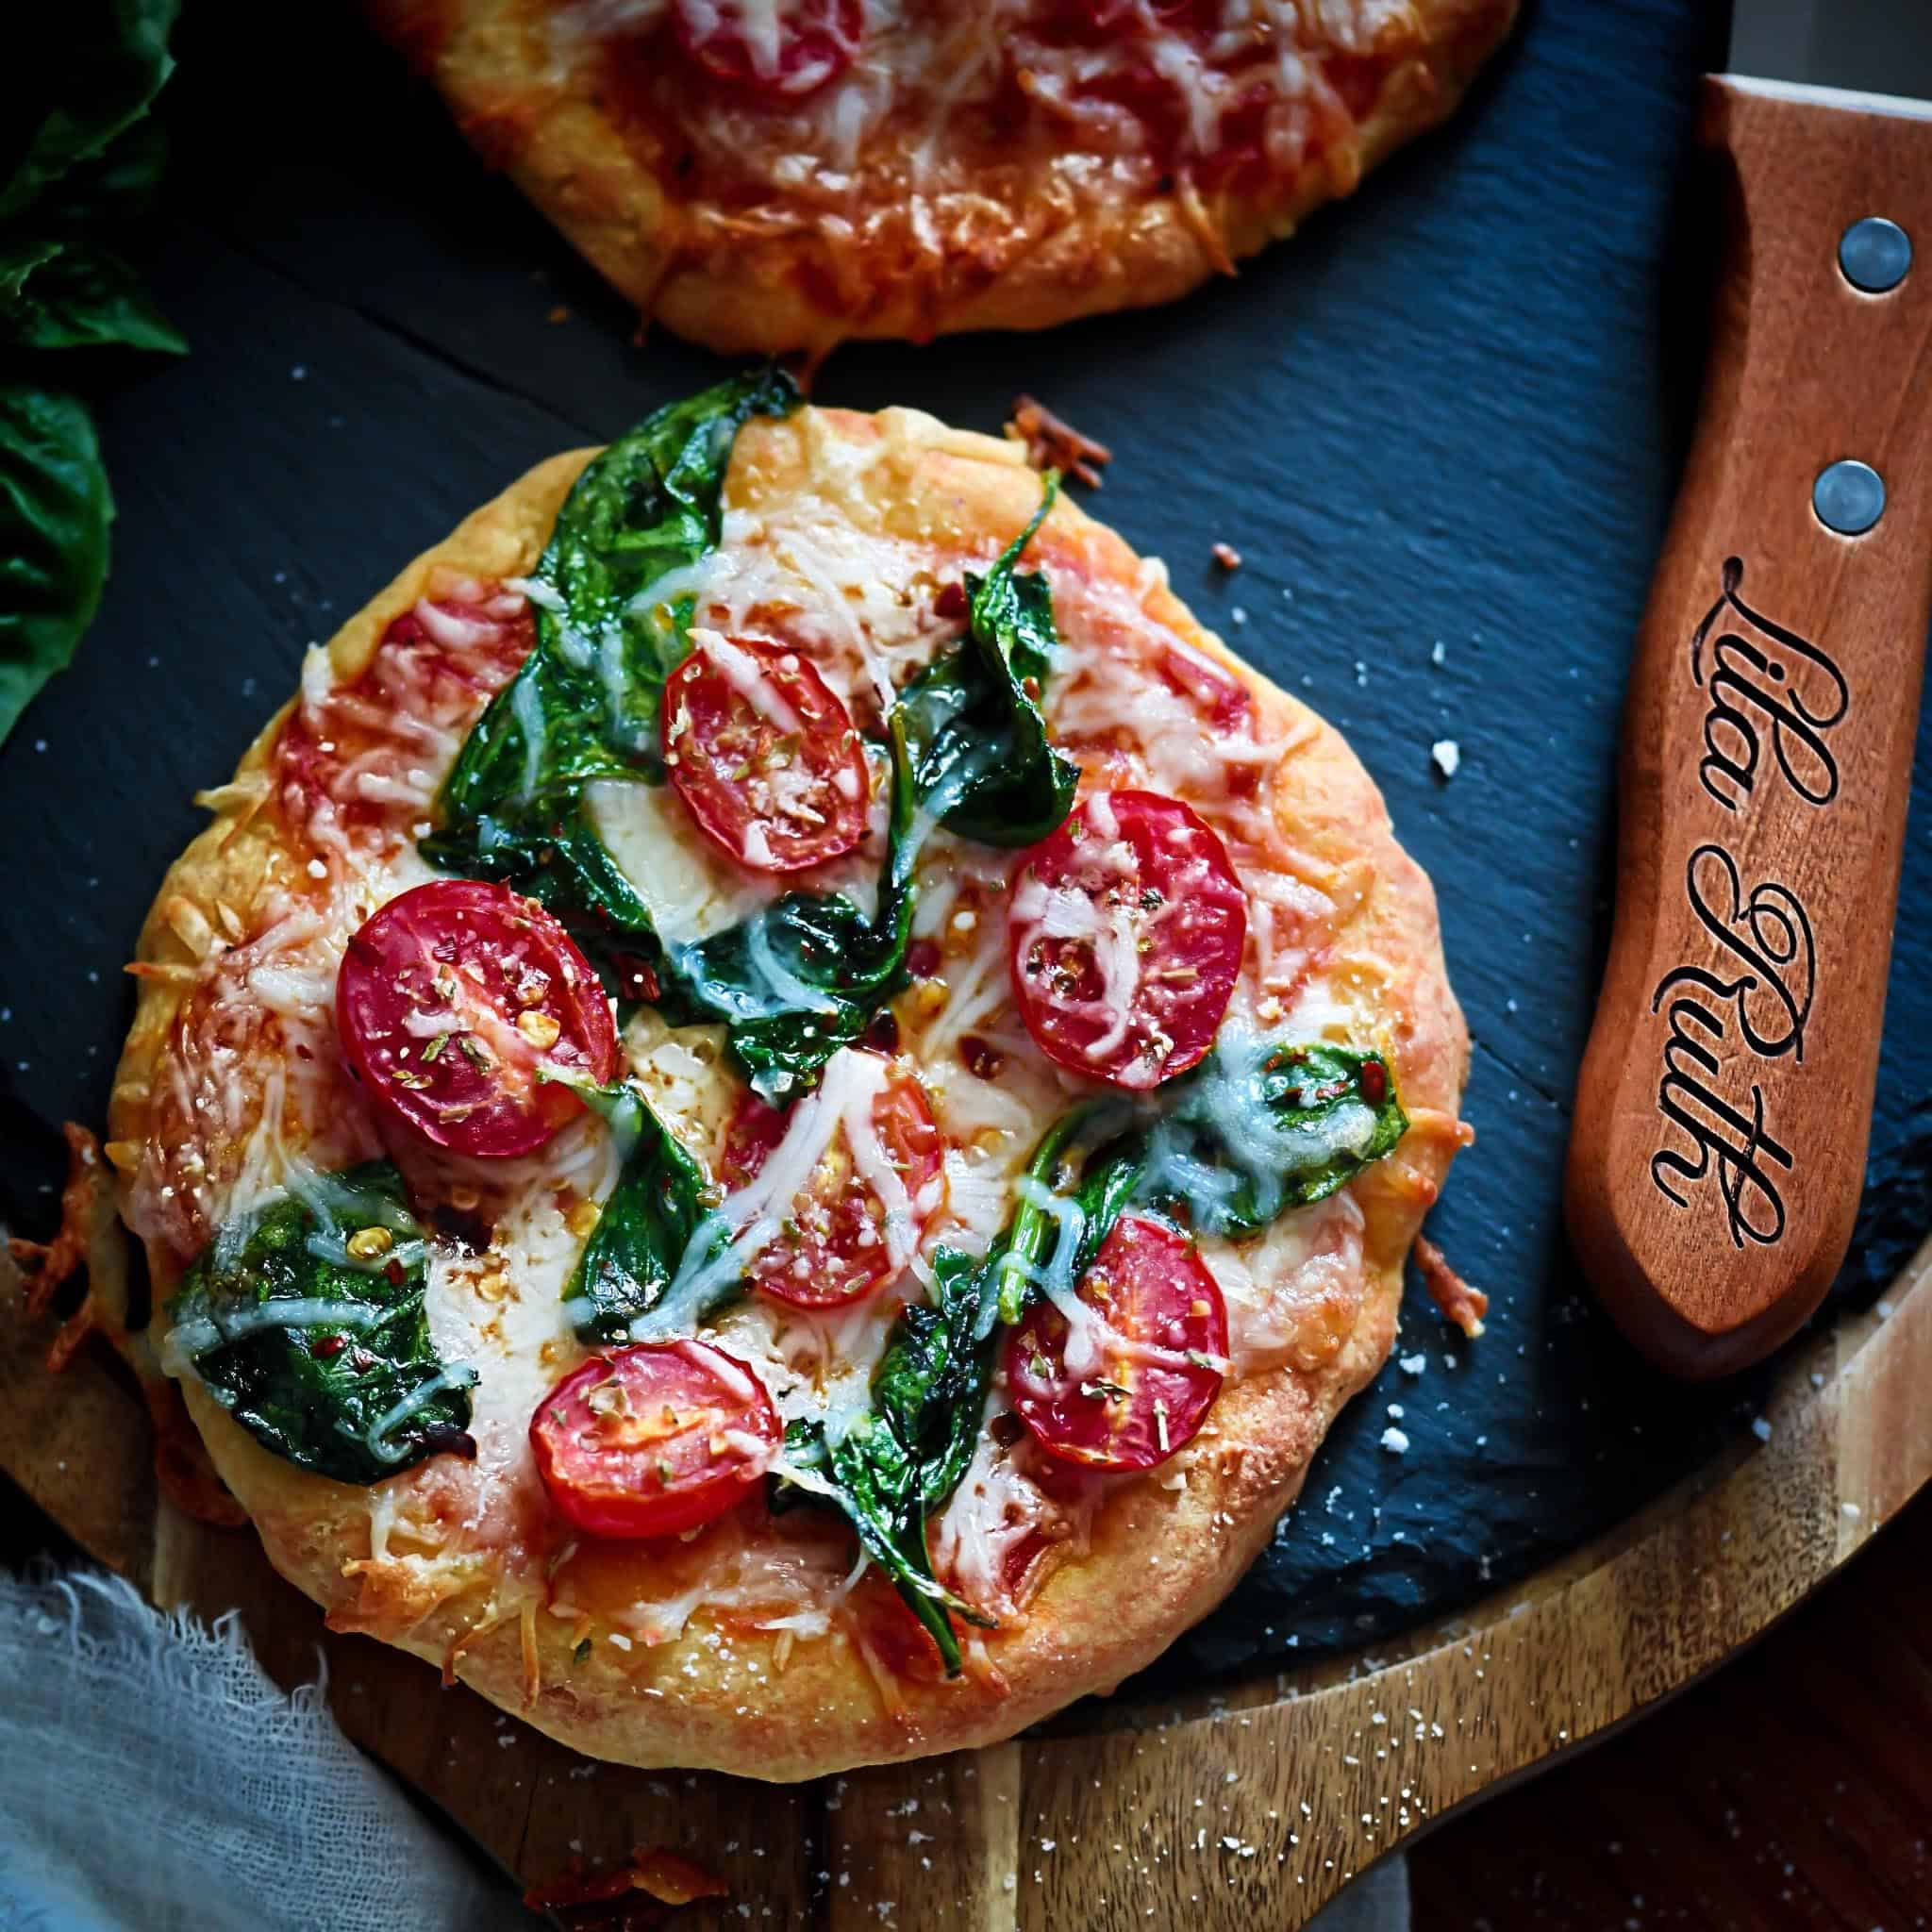
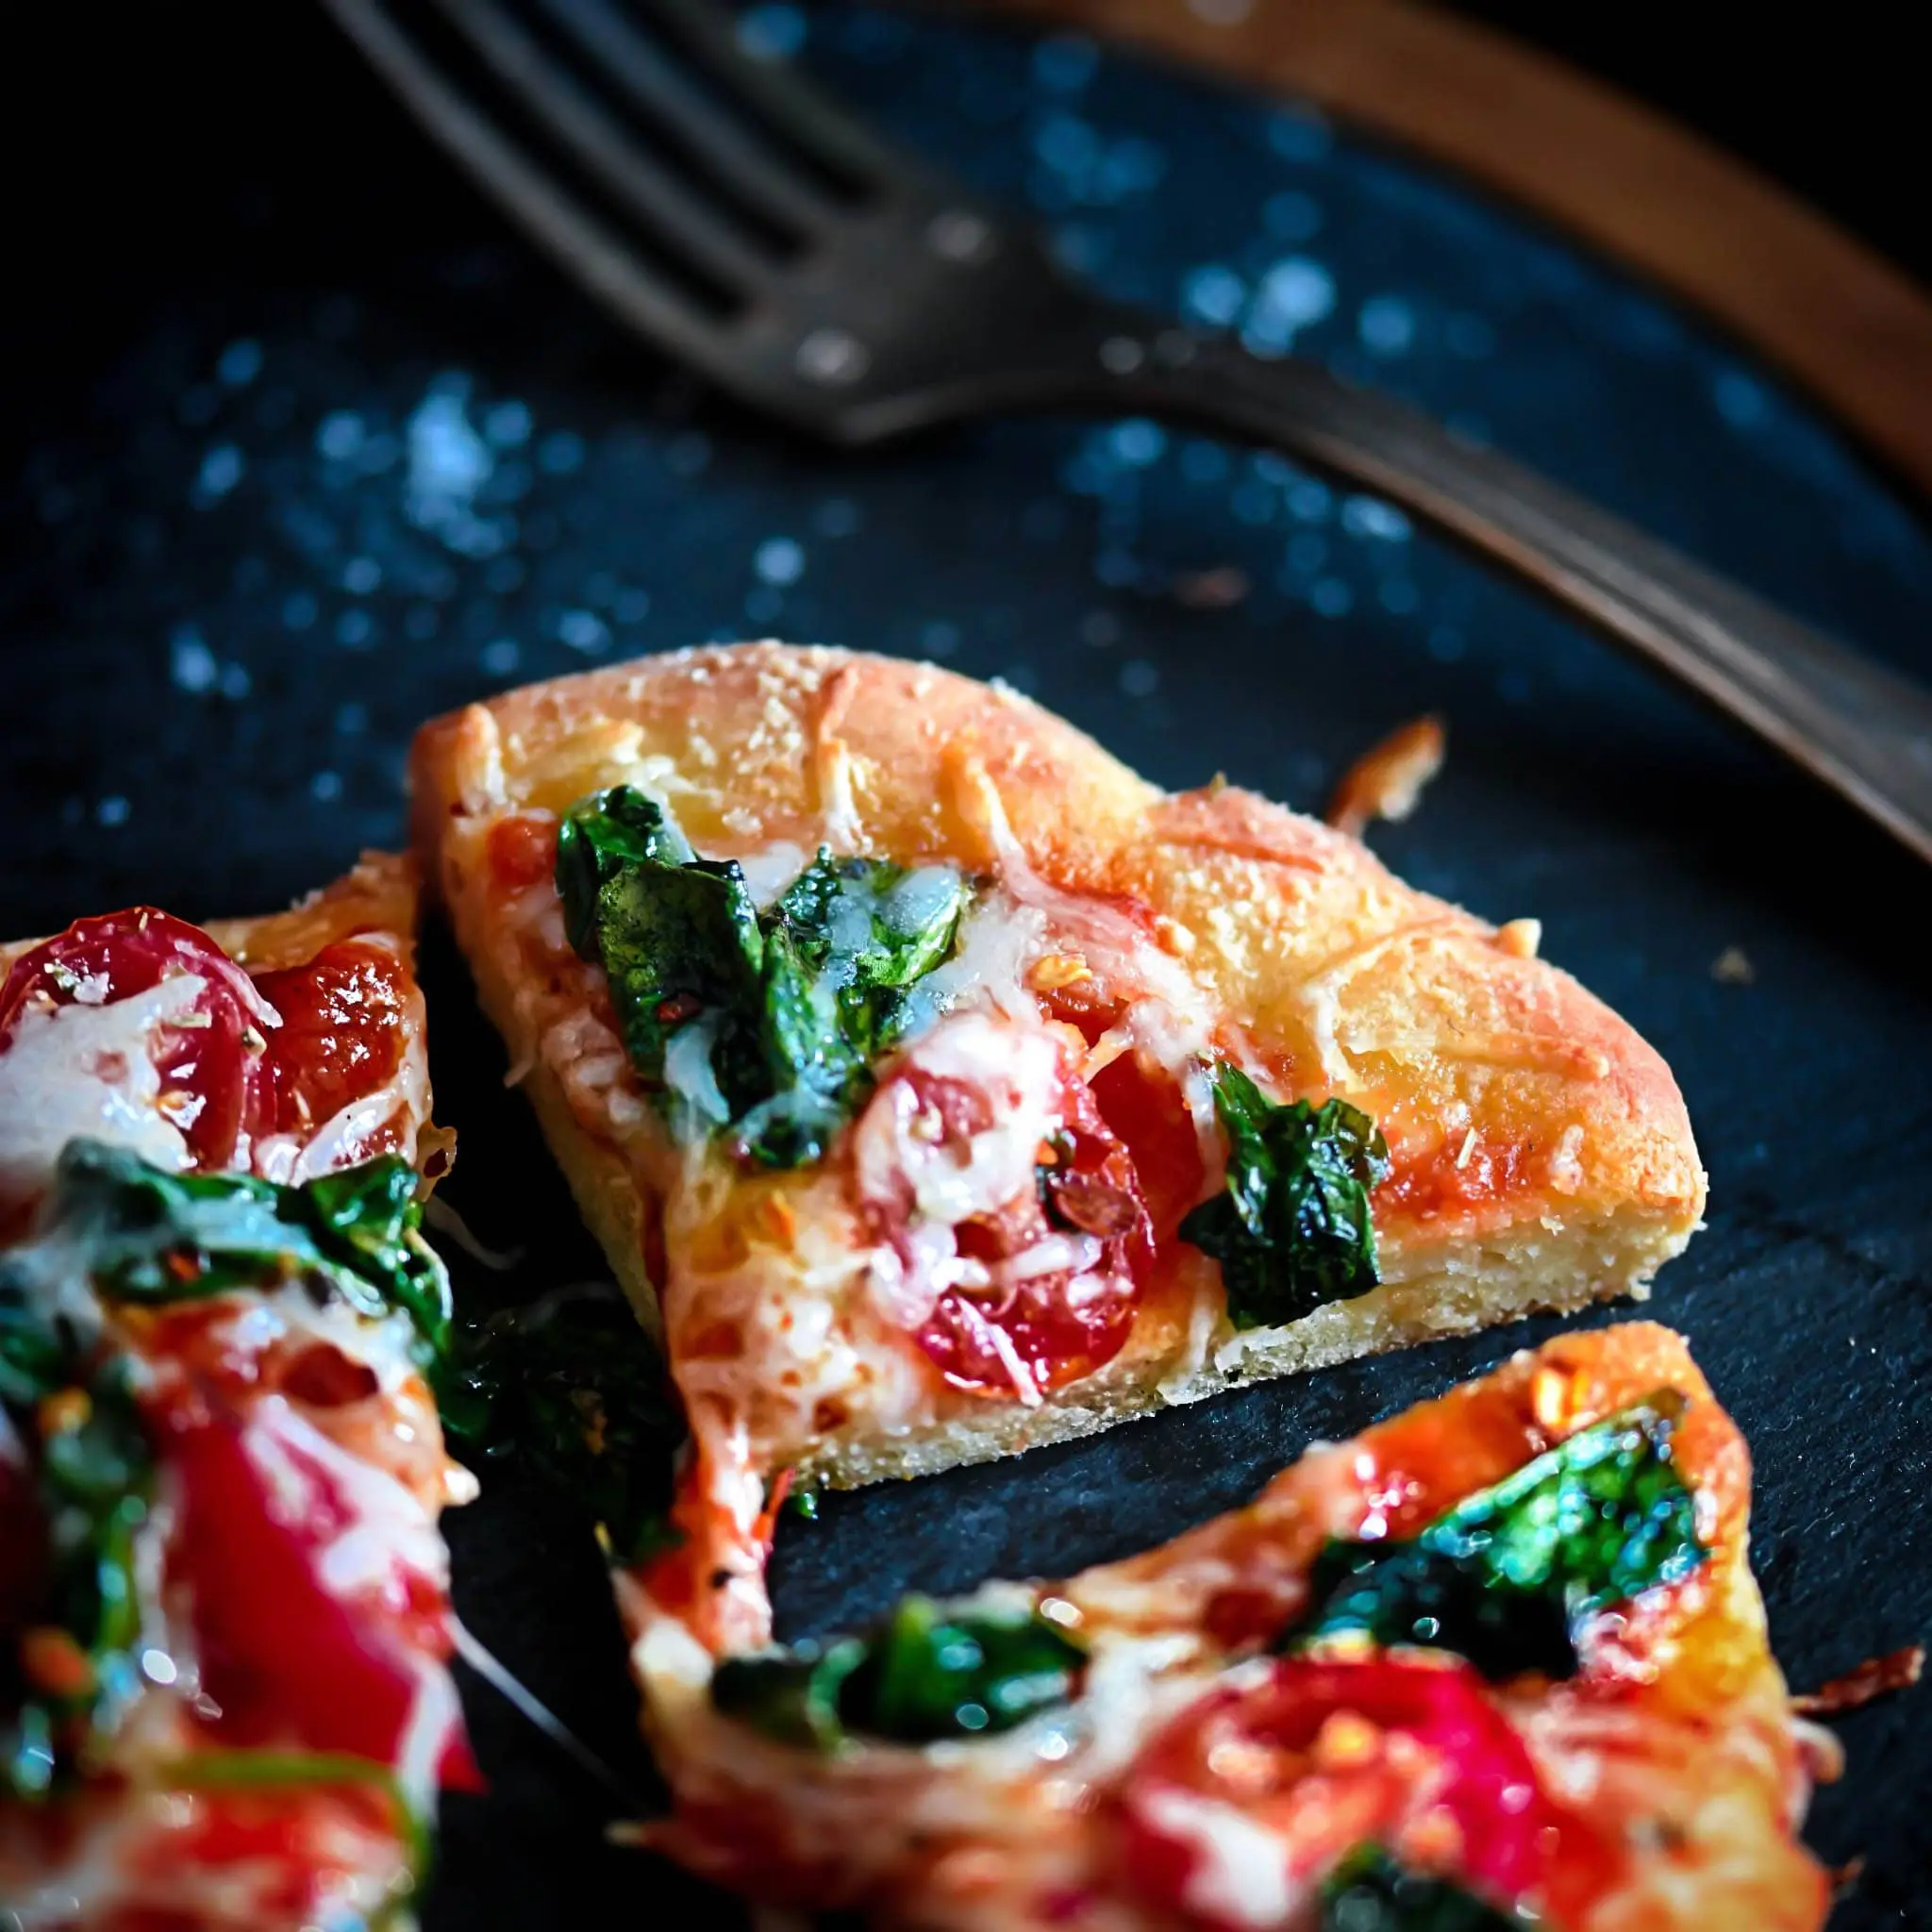
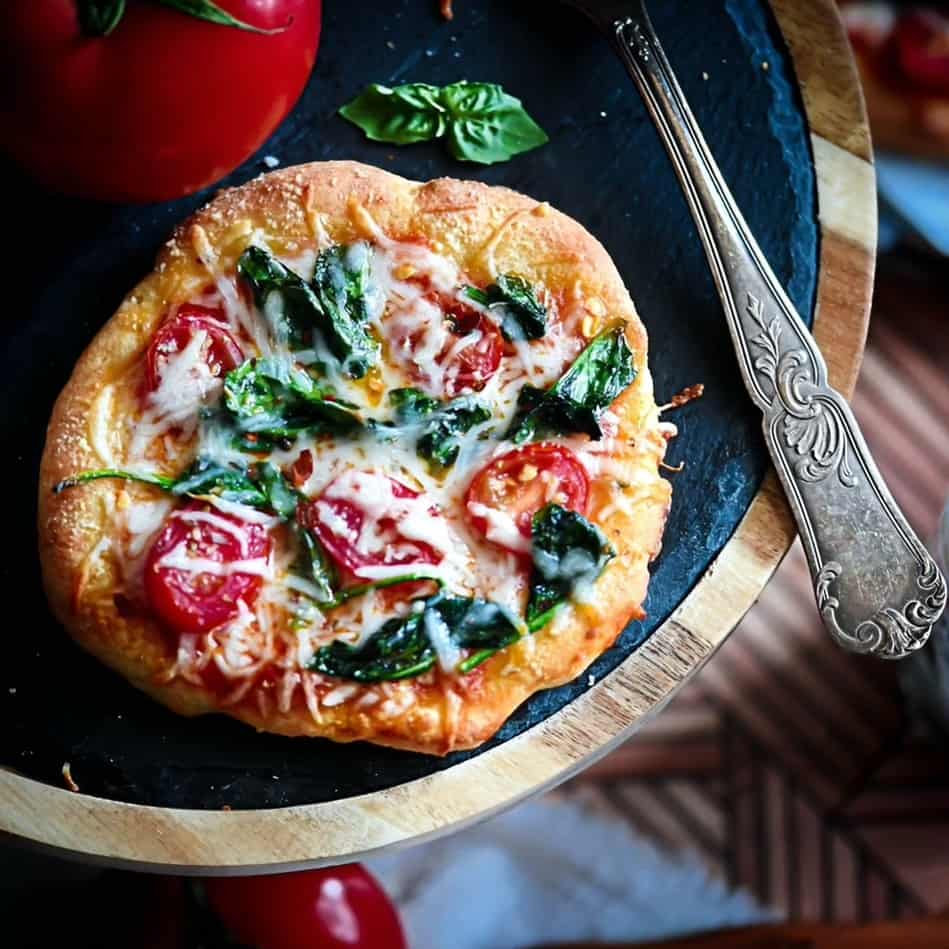
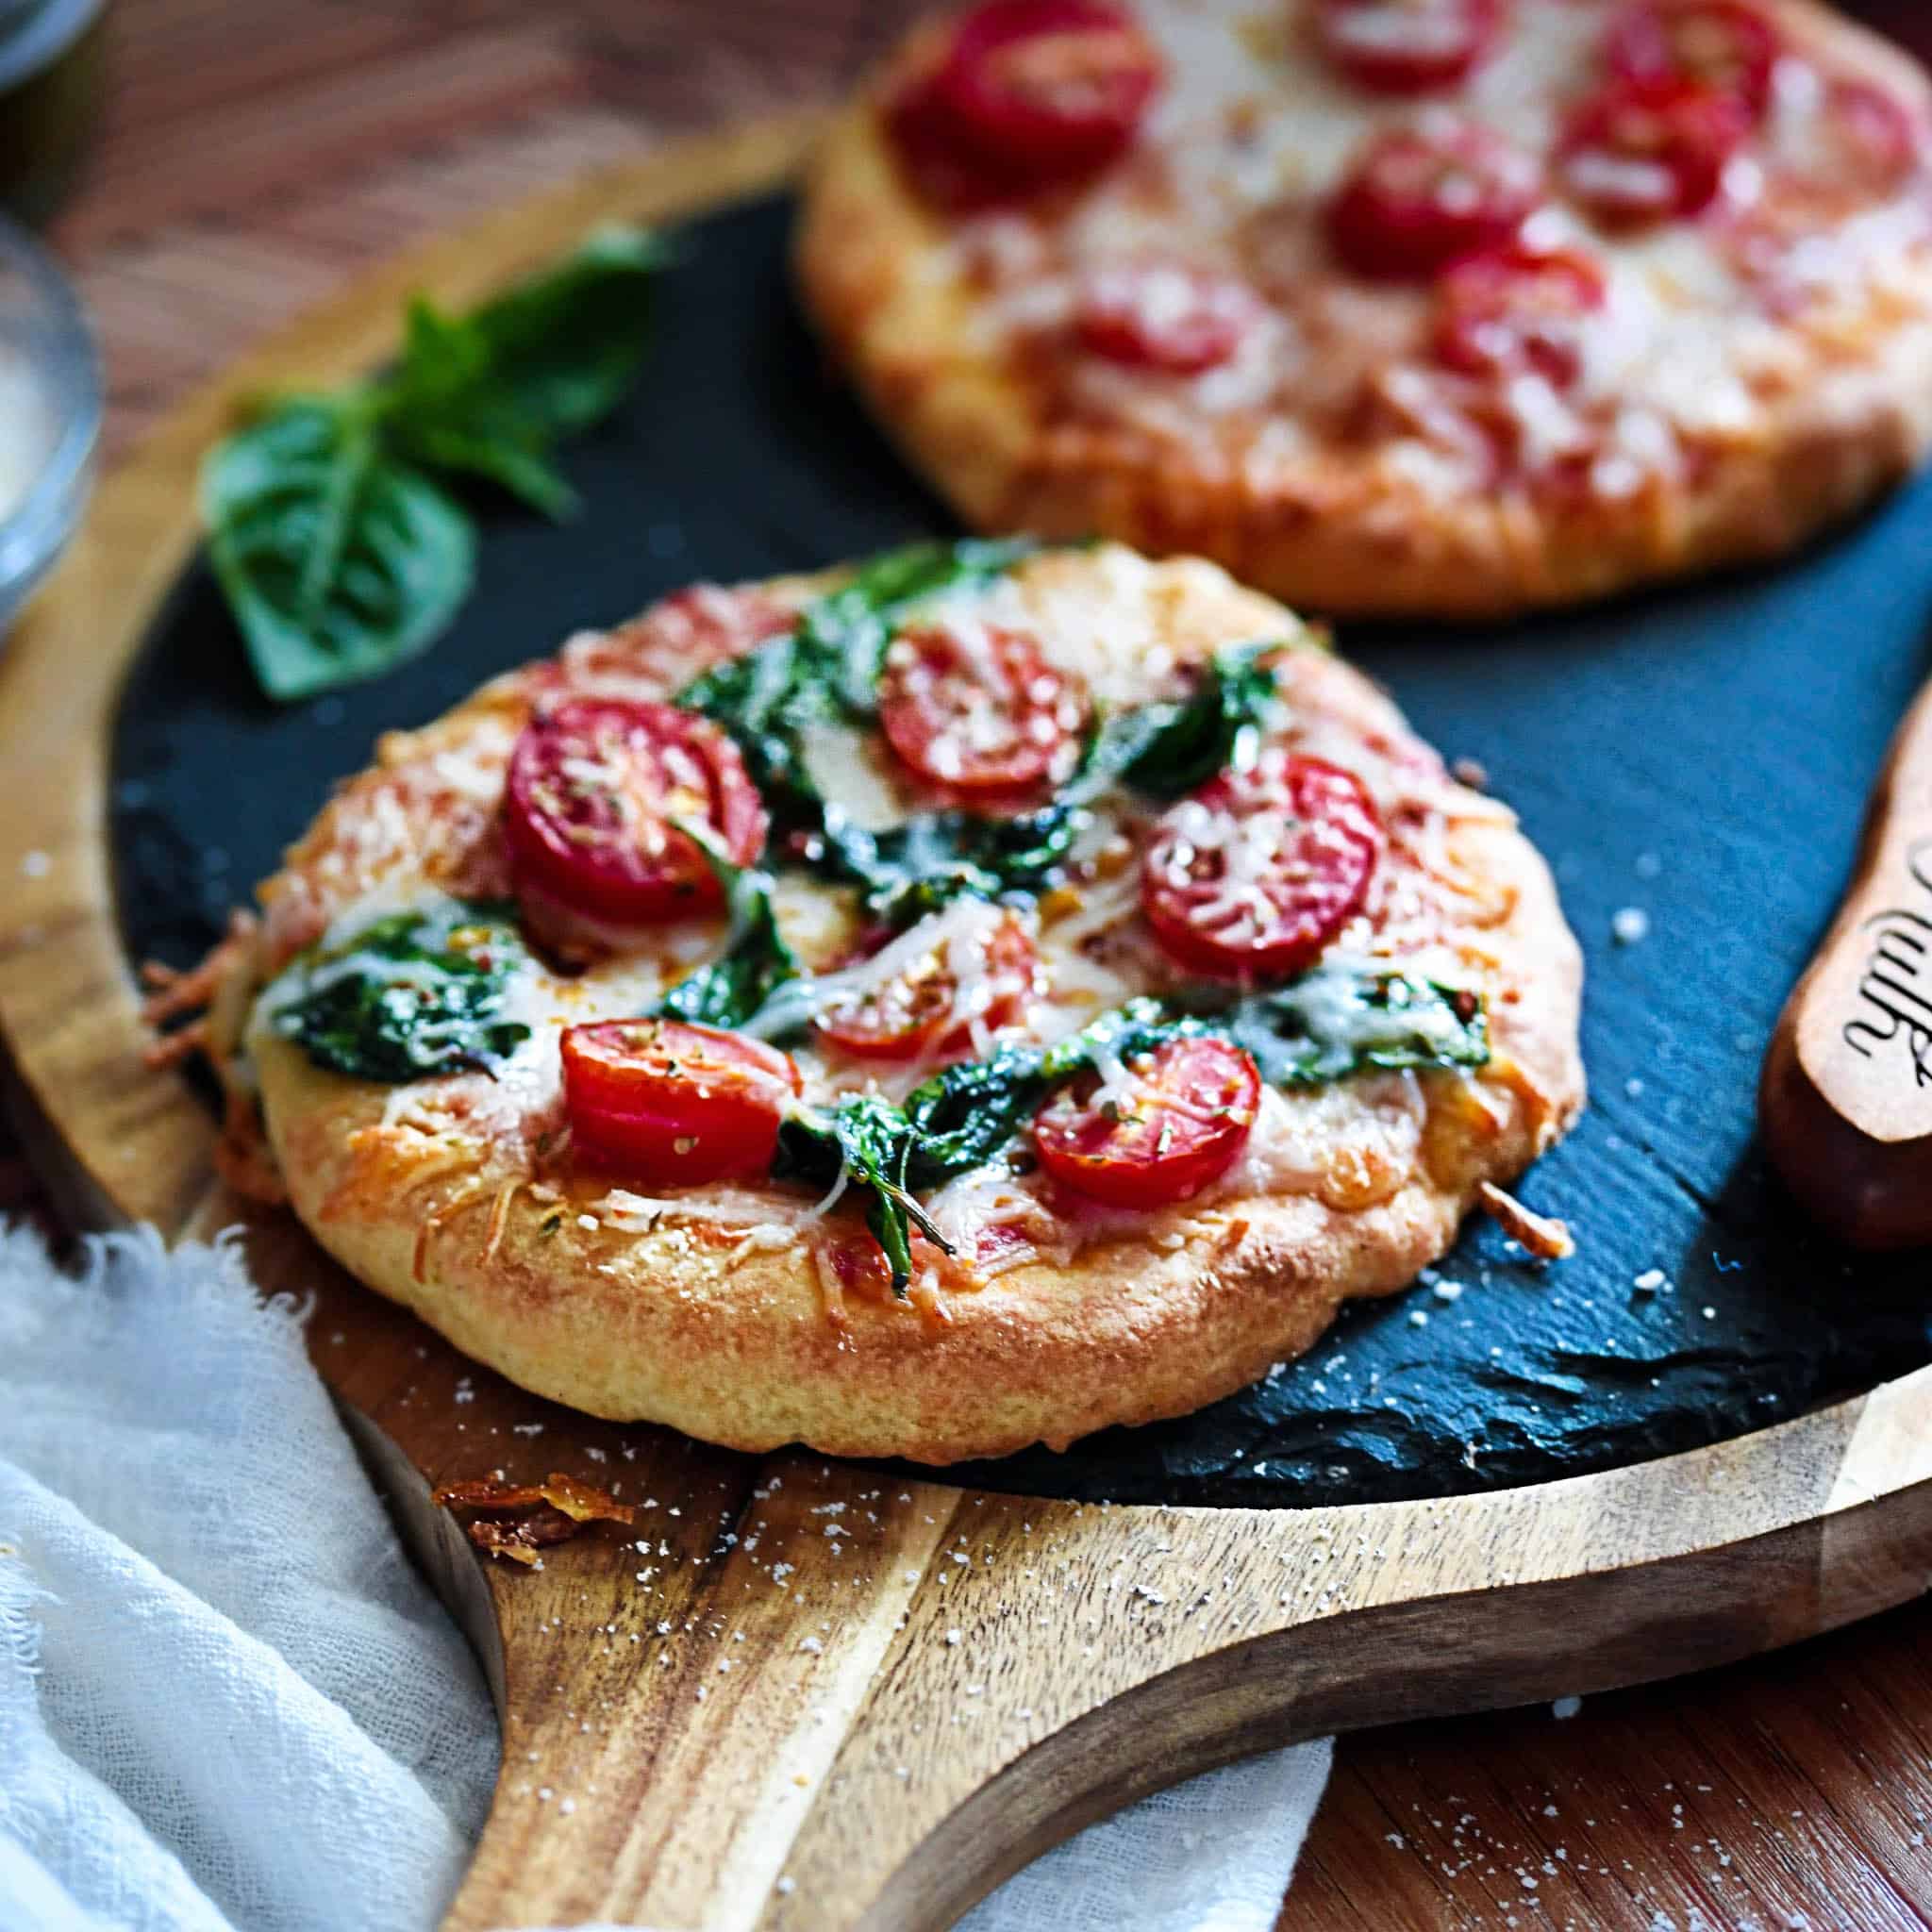
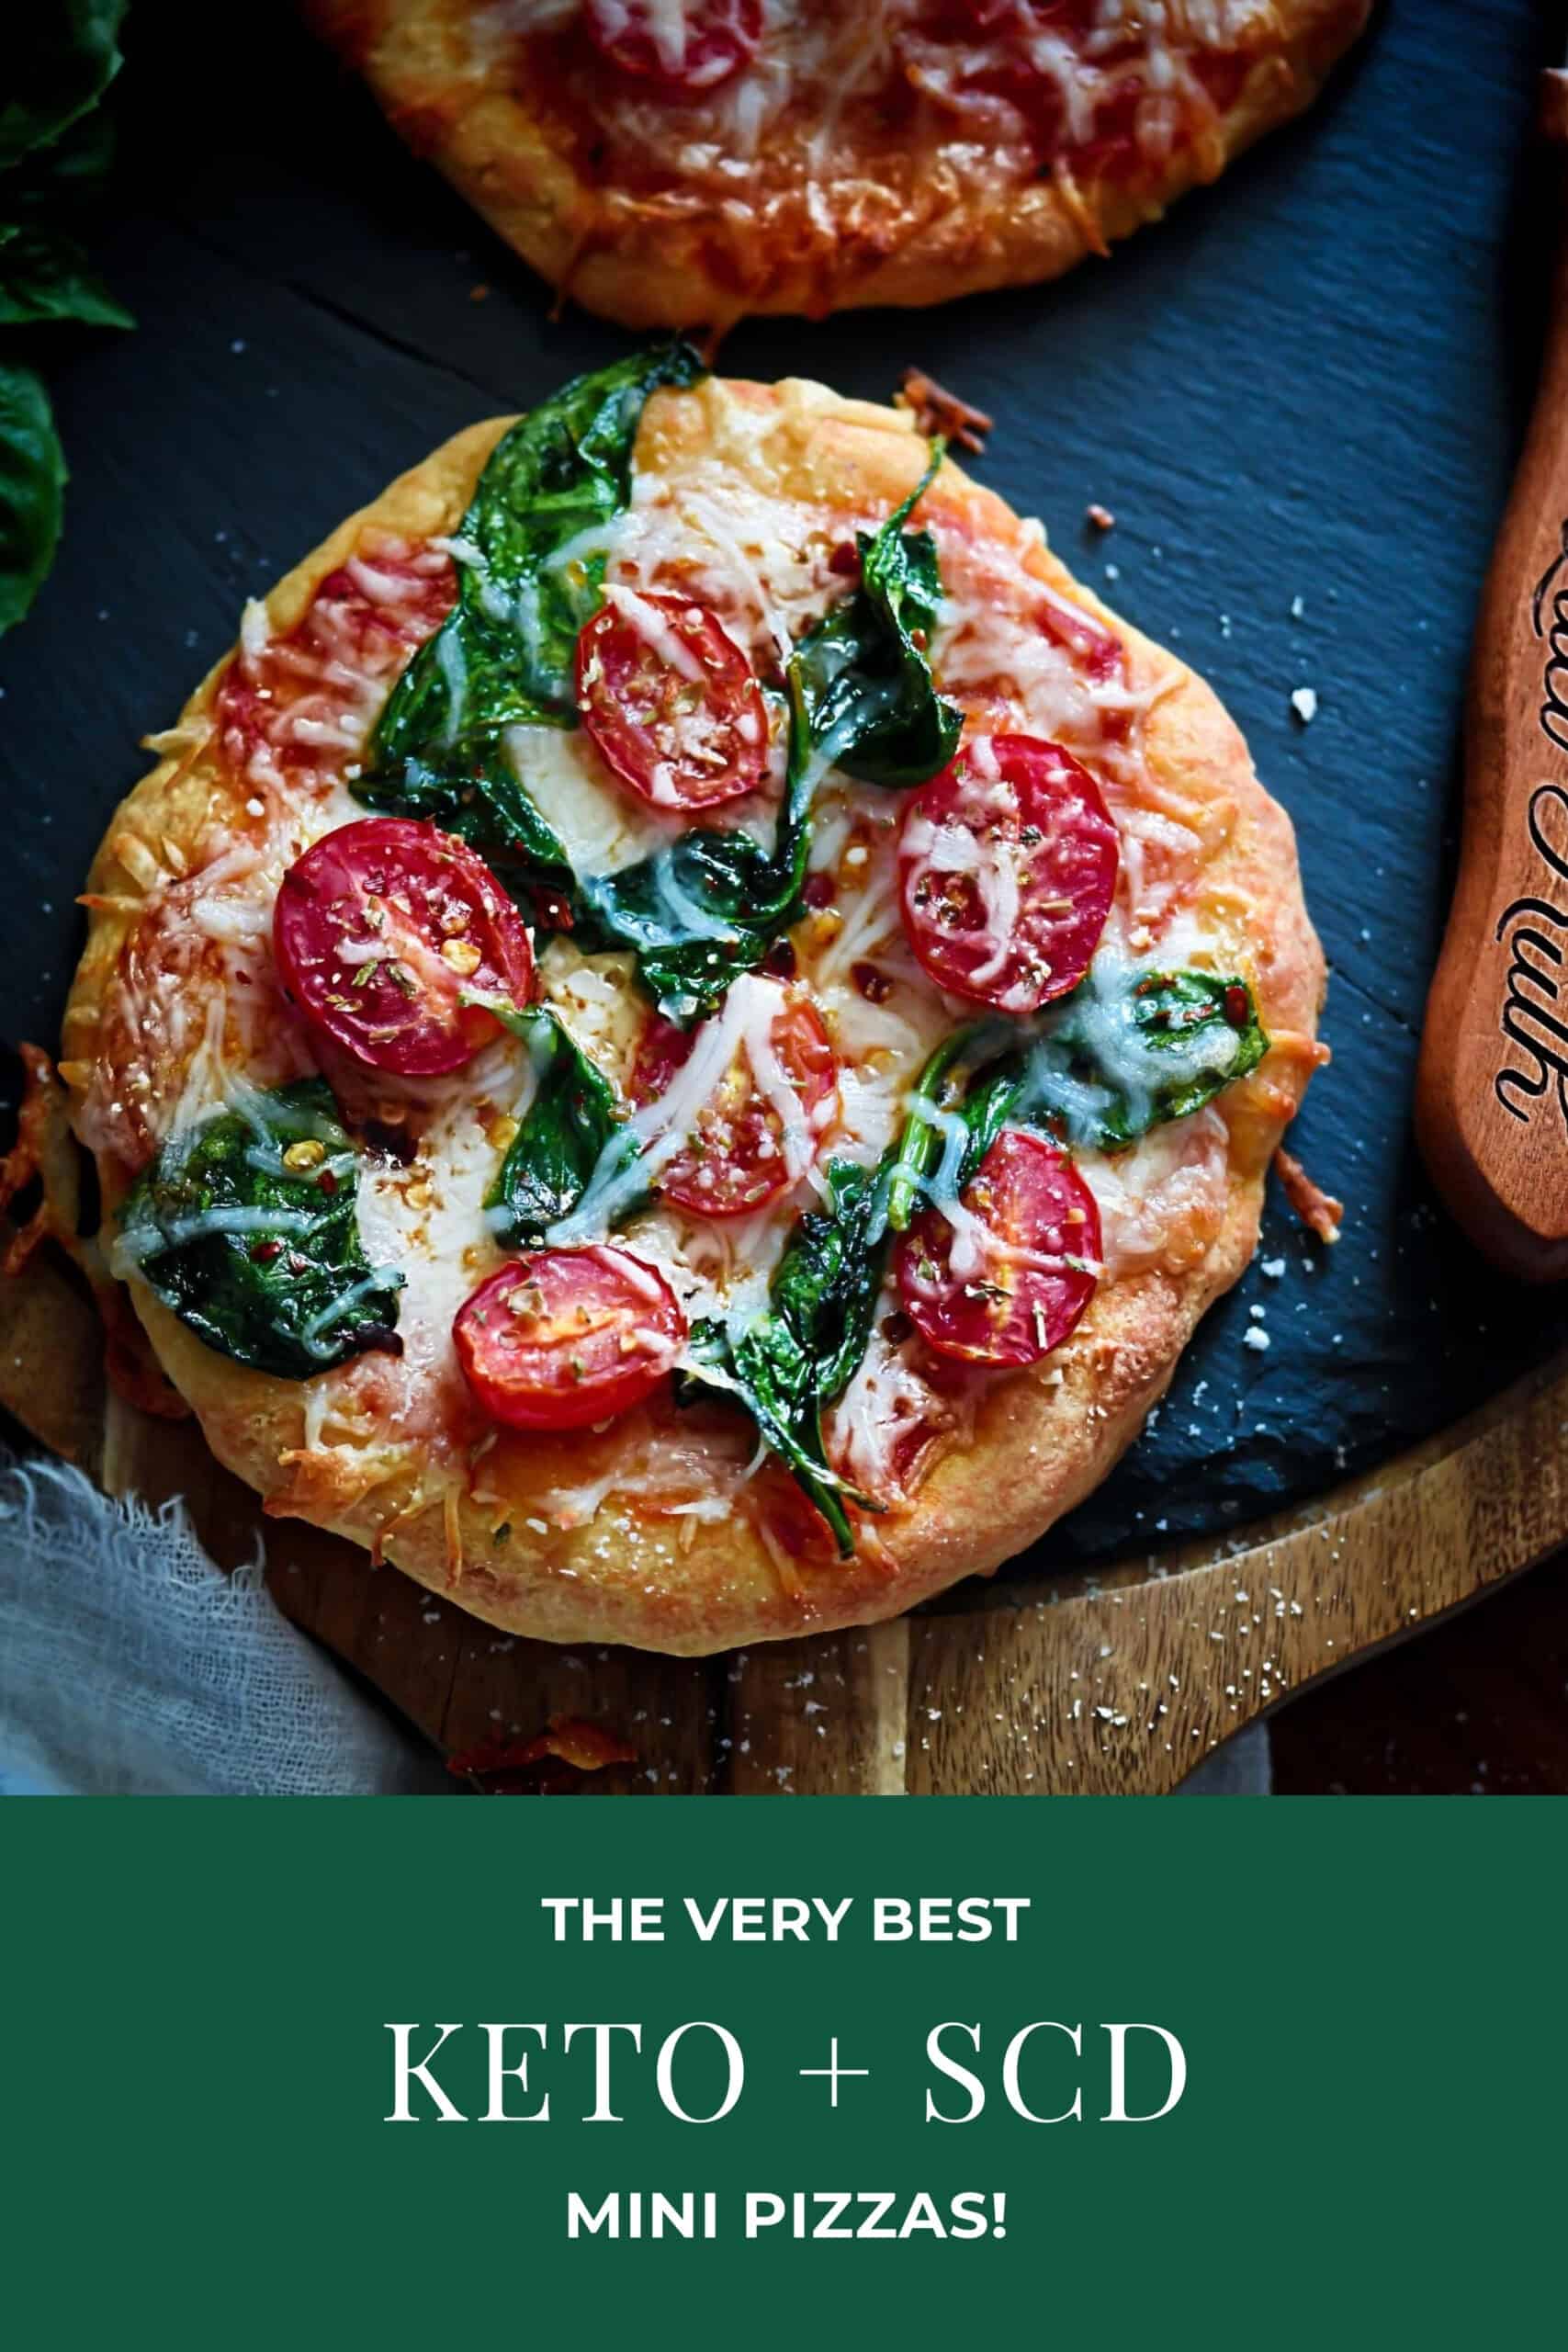
Cheesy, crusty chewy goodness awaits! Our Best Keto + SCD Mini Pizzas are incredibly scrumptious, Grain-Free and make the perfect lunch, snack or dinner.
Keto + SCD Pizza Recipes
Good pizza, in my opinion, is akin to a delicious, bubbly hot dish of macaroni and cheese- there’s just no way you can go wrong. And that’s one of the reasons why we’re so excited about today’s recipe- it’s pure deliciousness.
Second, we’re particularly thrilled as these pizzas have been in development for some time- some recipes take longer than others to find that optimal taste and texture. Also, remarkably, we’ve never added an SCD Pizza recipe to the blog- we wanted to wait until we had it just right. It wasn’t until we finalized this Keto version that the best SCD version truly started to emerge.
Before we go any further, I want to mention that both versions of the recipe are included below, make sure to follow the ingredients + directions for the diet you follow.
How We Make Our Keto + SCD Pizzas:
- Both pizzas are built upon a cheese and almond flour foundation and are mixed together by hand.
- The Keto version involves guar gum, the SCD relies on gelatin + a touch of coconut flour for texture. And great news, both versions of the recipe are Keto friendly, so if you cannot tolerate guar gum, you can use the SCD version instead.
- Each require an egg, the Keto pizza takes an extra yolk and liquid. Both require leavening, baking soda for SCD, a grain-free baking powder for Keto.
- We then press the dough out with olive oil, shaping it and then sprinkling the edges with garlic, salt + a touch of parmesan and bake it at 375 degrees, add toppings then returning it to the oven raising the temp to 400 degrees.
Ingredients:
- It’s all about the cheese for these recipes! We love a great shredded Italian Cheese Blend for the Keto version and because the Specific Carbohydrate Diet is more strict, a blend of provolone and parmesan works beautifully and is SCD- friendly.
- We chose lightly sautéed spinach and sliced cherry tomatoes for topping, but please choose your very favorites if they differ from ours.
- Red pepper flakes, fresh basil and an additional sprinkling of grated parmesan or Pecorino Romano make a lovely and flavorful garnish.
Our Classic Chopped Salad is an excellent companion to this meal with our Green Dressing. Enjoy The Recipes!

Best Keto + SCD Mini Pizzas
- Total Time: about 45 min
- Yield: 3 mini or 1 large (6 servings) 1x
- Diet: Gluten Free
Description
*4.2 net carbs per serving (with toppings)
*SCD version is also Keto for those of you that can’t have guar gum.
Ingredients
Keto Version: (SCD Version just below)
- 1 cup almond flour
- 2.5 teaspoons guar gum
- 1/2 teaspoon baking powder (Hain brand is grain-free)
- 1 full cup + 2 tablespoons Shredded Italian Cheese blend. Plain shredded mozzarella works as well.
- 1 egg + 1 additional egg yolk
- 1/2 tablespoon heavy cream (half and half or coconut milk fine as well)
- 2–3 tablespoons olive oil to spread the dough
- 3–6 tablespoons Rao’s tomato sauce (or your favorite brand)
- additional cheese for topping
- favorite pizza toppings (we used sautéed spinach + grape tomatoes here)
- fresh basil, optional.
- garlic, salt + pecorino for the crust edges, also optional.
SCD Version:
- 1 cup almond flour
- 2 teaspoons gelatin
- 1 teaspoon coconut flour
- 1/2 teaspoon baking soda
- 1 full cup + 2 tablespoons of shredded parmesan and provolone. (50% parm, 50% provolone)
- 1 egg
- 2–3 tablespoons olive oil to spread the dough
- 3–6 tablespoons Rao’s tomato sauce (or homemade)
- additional cheese for topping
- favorite pizza toppings (we used sautéed spinach + grape tomatoes here)
- fresh basil, optional
- garlic, salt + pecorino for the crust edges, also optional
Instructions
Keto Version: (SCD Version just below)
- Preheat oven to 375 degrees.
- Line a baking sheet with parchment paper.
- Place about 2 tablespoons of olive oil in a small dish, set aside.
- In a medium/large bowl, whisk together almond flour, guar gum and baking powder. Set aside.
- In a separate medium/ large microwave safe bowl, add your shredded cheese. Microwave for 40-45 seconds until melted.
- Immediately after microwaving the cheese, take a fork and spread the melted cheese out a bit on the bottom of the bowl. Pour your flour mix over top. Now it’s time to get our hands messy!
- Then, while the cheese is still very warm and malleable, you’ll want to incorporate the flour mixture into the cheese with your hand by squeezing the flour mix and cheese together. If you find the cheese is too hot for your hand, wait 20 or 30 seconds. Squeeze the flour blend and cheese together until fairly well incorporated.
- Then add egg, additional yolk and cream. Now use both hands to blend ingredients together until your dough forms. Once the dough starts to form, you can slap it and mold it into a disc shape. Wash your hands to remove excess dough. You can use this disc to make 1 large pizza, or separate it into thirds to make 3 mini pizzas.
- Put your dough onto the parchment lined baking sheet. Dip your hands into the olive oil you have set aside and press firmly on the dough– make sure the entire surface is oiled, this will make it easier to shape.
- To create a traditional pizza shape, we cup our left hand around the left edge of the dough and start to shape the circle that way, allowing the outer portion to be raised, and we smooth and flatten the middle simultaneously in a circular motion with our right hand. If you’re left handed, the reverse will work beautifully. Think of it as if you’re working with clay.
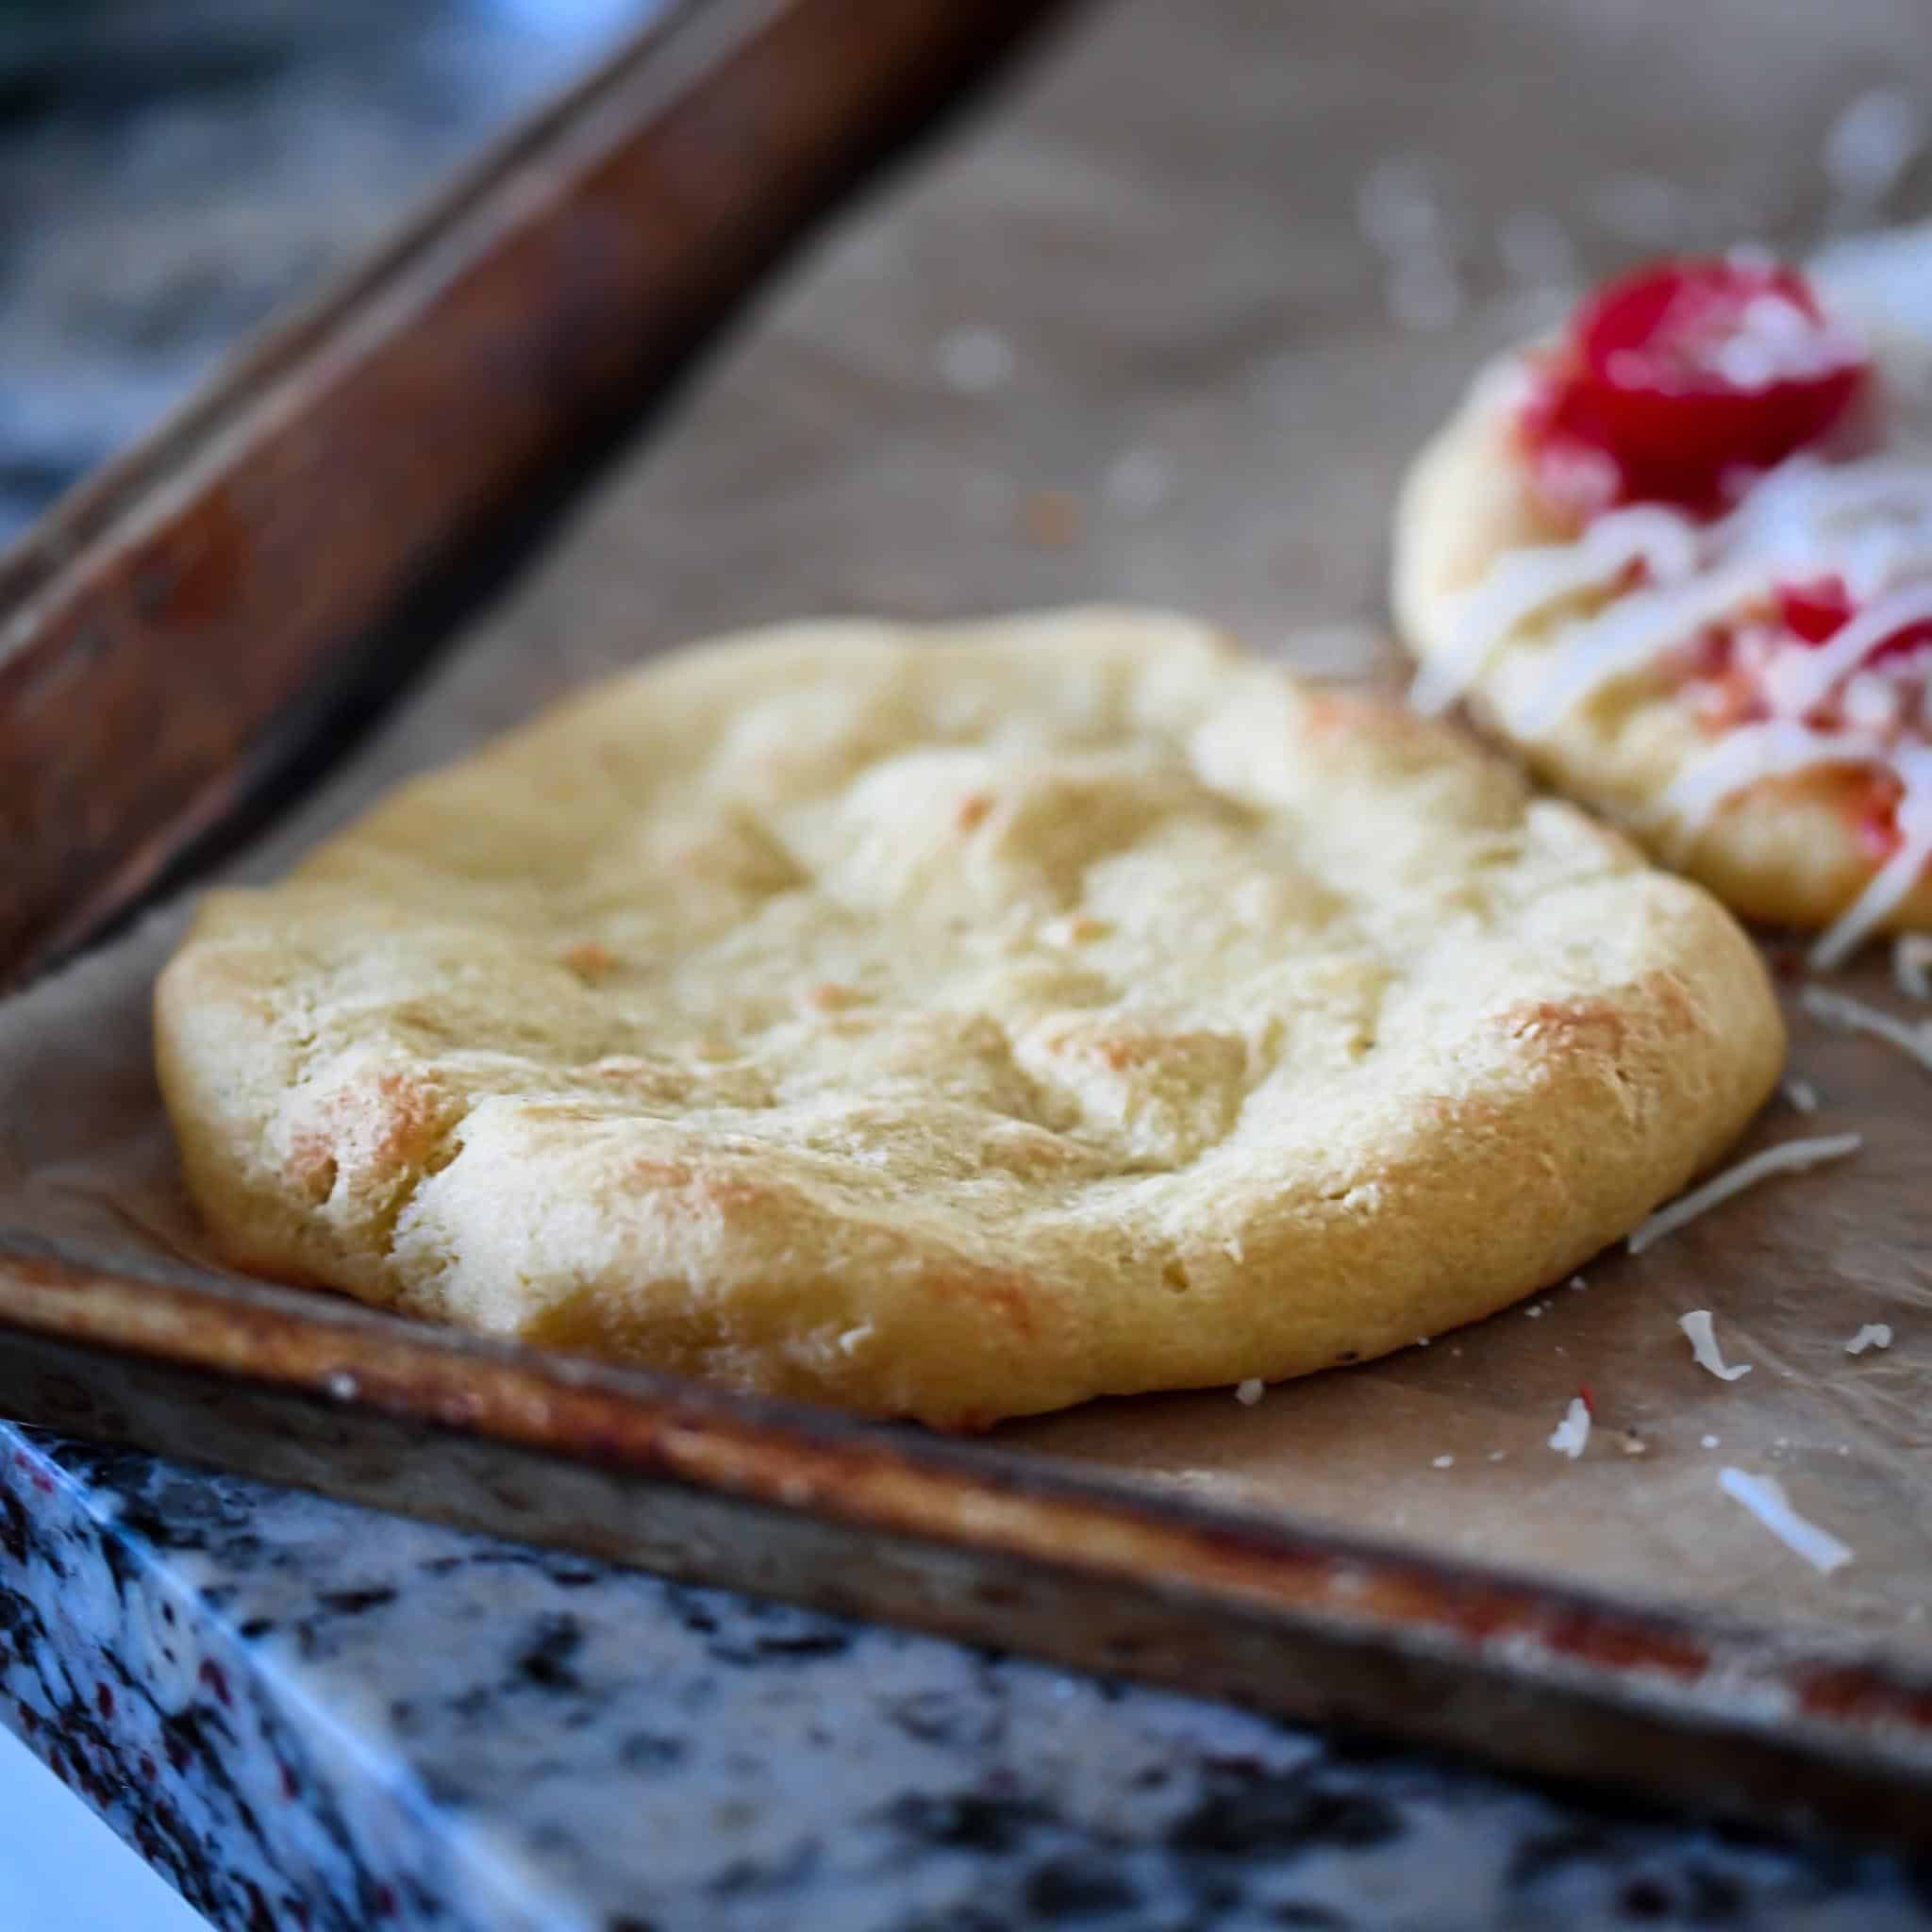
- Once your dough is shaped, sprinkle the edges with garlic salt and a sprinkle of pecorino Romano or grated parmesan if desired. Place it into the oven to bake for about 15 minutes.
- Remove from the oven, but keep the crust(s) on the baking sheet, at this point you’ll just want to add your toppings. Add your favorite tomato sauce then sprinkle cheese. Then top with some sautéed spinach and sliced grape tomatoes. We like to add a sprinkling of dried oregano and pecorino Romano on the tomatoes. Alternatively, add your favorite toppings in their place- pepperoni, black olives, onions, etc.
- Turn the oven up to 400 and place pizza back in to bake another 10-15 minutes until cheese is nice and bubbly and crust is golden. Slice and enjoy! Store any leftovers in an airtight container and refrigerate.
SCD Version:
- Preheat oven to 375 degrees.
- Line a baking sheet with parchment paper.
- Place about 2 tablespoons of olive oil in a small dish, set aside.
- In a medium/large bowl, whisk together almond flour, gelatin, coconut flour and baking soda. Set aside.
- In a separate medium/ large microwave safe bowl, add your shredded cheese. Microwave for 40-45 seconds until melted.
- Immediately after microwaving the cheese, take a fork and spread the melted cheese out a bit on the bottom of the bowl. Pour your flour mixture over top. Now it’s time to get our hands messy!
- Then, while the cheese is still very warm and malleable, you’ll want to incorporate the flour mix into the cheese with your hand by squeezing the flour mix and cheese together. If you find the cheese is too hot for your hand, wait 20 or 30 seconds. Squeeze the flour blend and cheese together until fairly well incorporated.
- Add egg into mix. Now use both hands to blend ingredients together until your dough forms. Once the dough starts to form, you can slap it and mold it into a disc shape. Wash your hands to remove excess dough. You can use this disc to make 1 large pizza, or separate it into thirds to make 3 mini pizzas.
- Put your dough onto the parchment lined baking sheet. Dip your hands into the olive oil you have set aside and press firmly on the dough– make sure the entire surface is oiled, this will make it easier to shape.
- To create a traditional pizza shape, we cup our left hand around the left edge of the dough and start to shape the circle that way, allowing the outer portion to be raised, and we smooth and flatten the middle simultaneously in a circular motion with our right hand. If you’re left handed, the reverse will work beautifully. Think of it as if you’re working with clay.
- Once your dough is shaped, sprinkle the edges with garlic salt and a sprinkle of pecorino Romano or grated parmesan if desired. Place it into the oven to bake for about 15 minutes.
- Remove from the oven, but keep the crust(s) on the baking sheet, at this point you’ll just want to add your toppings. Add your favorite tomato sauce then sprinkle cheese. Then top with some sautéed spinach and sliced grape tomatoes. We like to add a sprinkling of dried oregano and pecorino Romano on the tomatoes. Alternatively, add your favorite toppings in their place- pepperoni, black olives, onions, etc.
- Turn the oven up to 400 and place pizza back in to bake another 10-15 minutes until cheese is nice and bubbly and crust is golden. Slice and enjoy! Store any leftovers in an airtight container and refrigerate.
- Prep Time: 15 min
- Cook Time: 15 min + 20 min
- Category: Keto + SCD
- Method: Baking
- Cuisine: Pizza




These are the best looking homemade pizzas I’ve ever seen! I am sure their taste is equally as amazing 🙂 Pizza night is about to get even better!
Aww thanks Noelle! I really hope you guys love them, nothing beats a great pizza!
These mini pizzas look glorious! We are so excited to try these for our family night this week.
You’re the sweetest Natalie, thank you! Can’t wait for you all to try it! 😀
While I don’t have any plans to swap a traditional pizza crust for anything else, I must admit this variation looks splendid. I never would have thought this is a gluten-free crust! It looks absolutely delicious.
I appreciate that so much Ben, thank you!! I’m so thankful for all the grain-free flour possibilities, sometimes the outcome really is indistinguishable from the glutenous form!
Sounds so simple, tasty and beautiful all at the same time! YUM! Pinning!
Aww thanks Kim, it really is such a simple and delicious pizza! 😀
Wow
Thank you Hannah! 😀
Do we multiply the ingredients if we are making more than 1 pizza crust? I am planning to make 12 crusts and freezing them
Hi thanks for your comment, I often prepare these ahead of time and freeze them for my husband. I find that making them individually yields a better result as the melted cheese can be a bit finicky to work with in large quantities. Hope this helps and hope you enjoy the pizzas!
Hi,
At what point do you freeze? Do you do the initial bake and freeze the crust or freeze the dough or freeze the finished pizzas? Thanks so much!
Hi! I freeze them after the crusts are baked and then when we’re ready, we thaw them on the counter until they’re room temperature, then add the toppings and bake until the cheese is bubbly. Hope this helps!
Curious if I don’t have provolone on hand if I could do parm and swiss?
Hi! I think that the swiss and parm combo should work just fine, hope you enjoy it! 😀